Welcome to InLinkz link parties!
InLinkz makes it easy for you to throw your own link party on your blog.
Sign up for free to start hosting linkups.
We have created this free guide so that anyone can learn how to run a blog link party quickly and easily.
So, just how do you start a link party?
Learn how to host your own link party following these steps:
Create a free account
1. Go to Inlinkz and click on the blue button at the top right to get started.
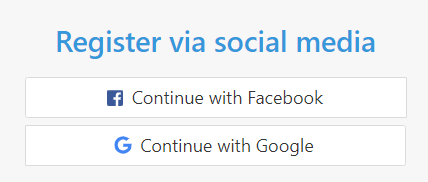
2. Register to the service via an existing social account (facebook or google).
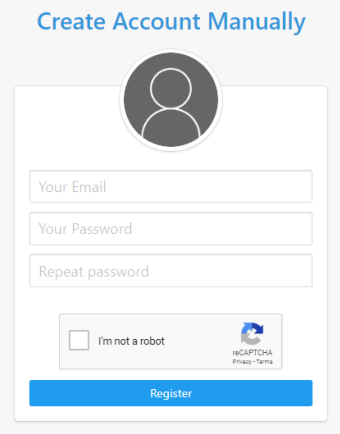
Alternatively, create an account manually.
After registering, you will receive an activation email at the email address you entered during registration. Select the link in the email to activate your account.
If you do not see the activation email in your email inbox, please check your junk/ spam folder.
If you're still not receiving the email, contact us to troubleshoot further.
First login to InLinkz
If you are logged into InLinkz for the first time, you will need to set up your timezone and associate a blog with your account.
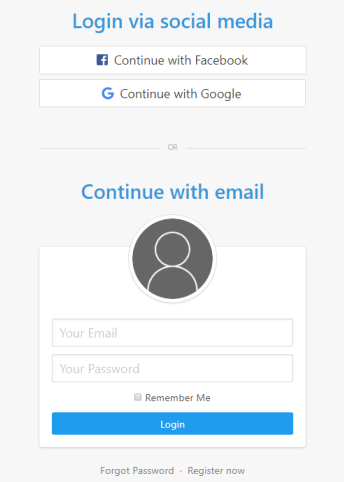
1. Log into InLinkz via social media or continue with your registered email.
2. Click on the arrow next to your email and go to your Settings.
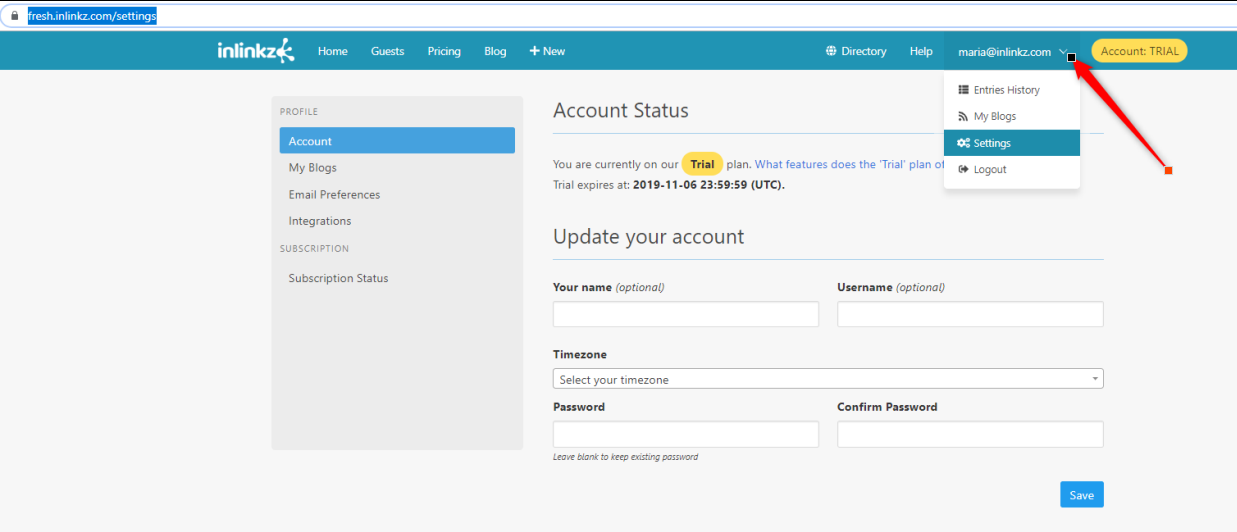
3. On the Account Status, set your timezone from the dropdown menu.
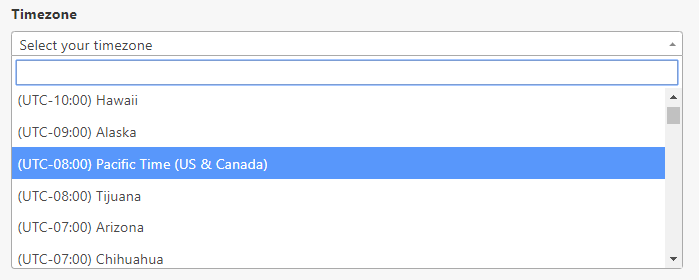
Setting your timezone determines what time a link party opens and ends.
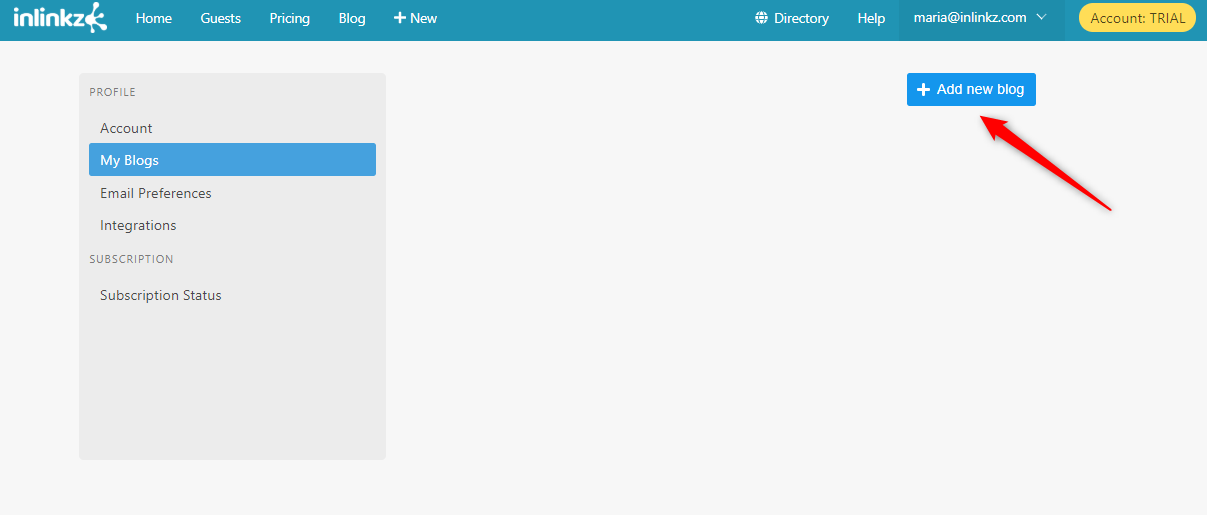
4. Select the "My Blogs" tab from the Profile box on the left to associate one or more blogs with your account.
To +Add a new blog click on the blue button on the right.
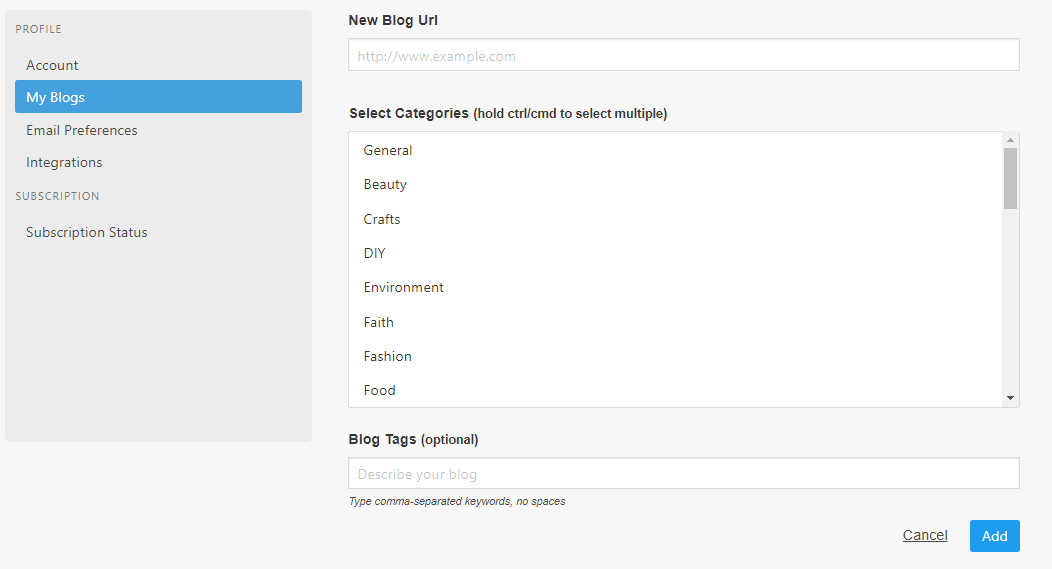
Enter your blog's URL in the first field.
Select one or more blog categories (by holding the ctrl/ cmd).
Enter a few tags to describe your blog.
Create your first link party
Now, it's time for you to create your very first link party!
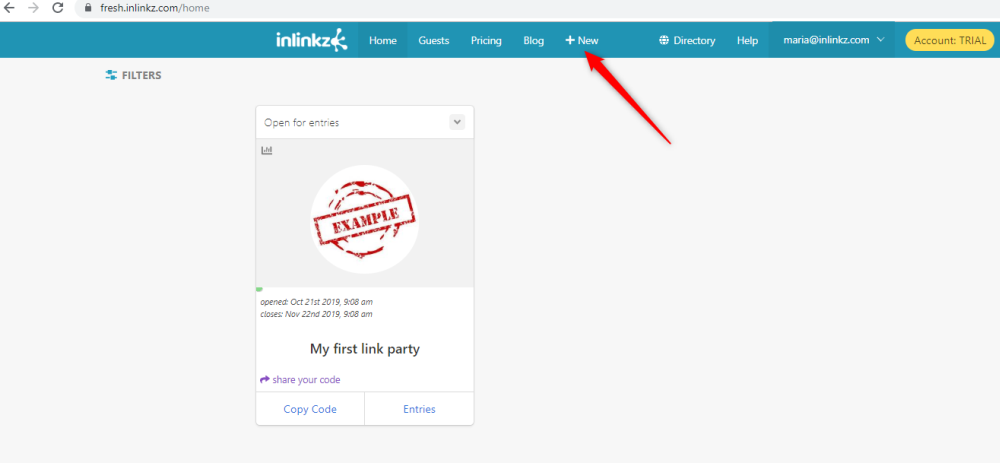
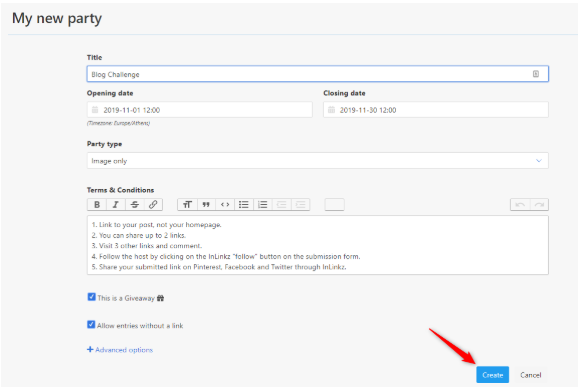
1. On your InLinkz dashboard, click on the +New tab.
2. Select a title.
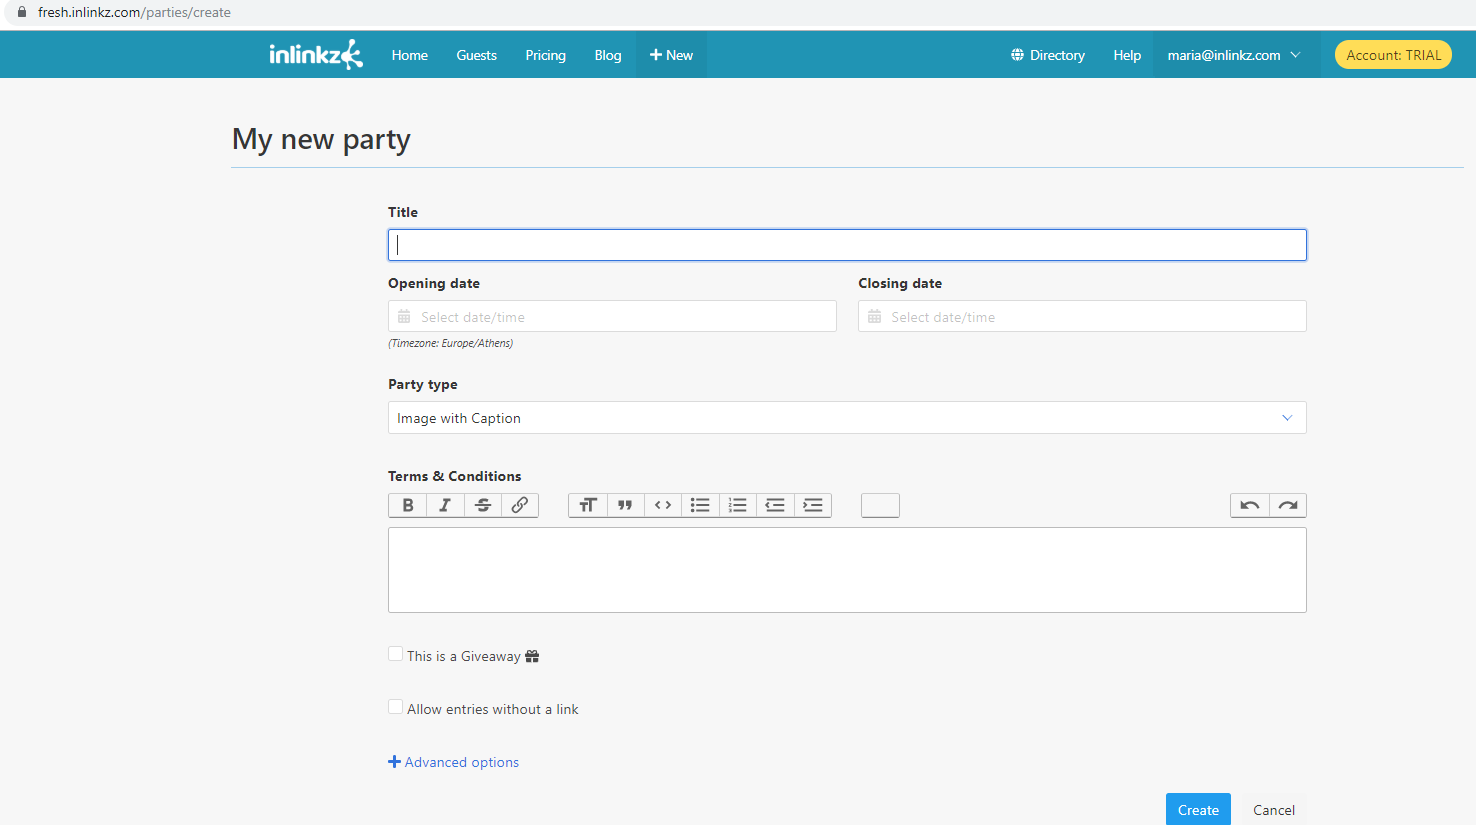
Note: This title will be displayed in the InLinkz Directory as well. To join our free link party directory, click here.
3. Set an opening and a closing date. Once you click on the desired date, the clock to set the time will be shown.
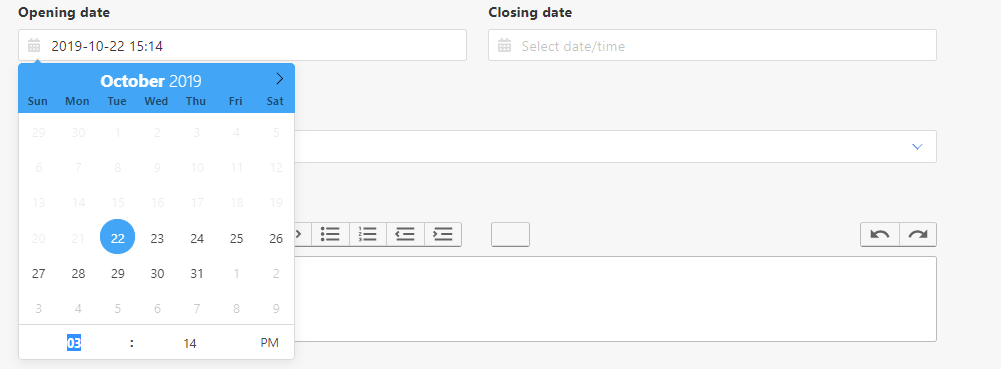
A link party opens for new submissions at the date and time set in the "Opening Date" field and closes when the "Closing date" is reached.
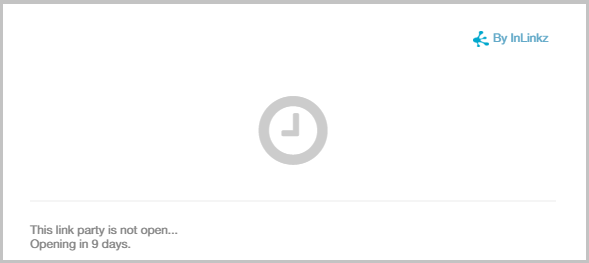
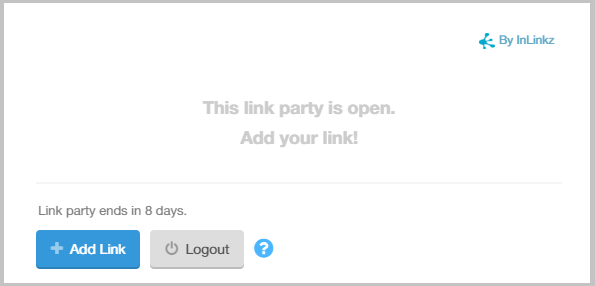
Here is how your link party will look on your blog before it opens:
Between the opening and the closing date, the widget will display an "Add Link" button for entrants to add their links:
4. Select a type for the party.
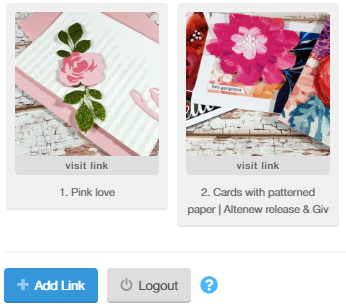
Thumbnails with captions
or the thumbnails without any additional information underneath the image.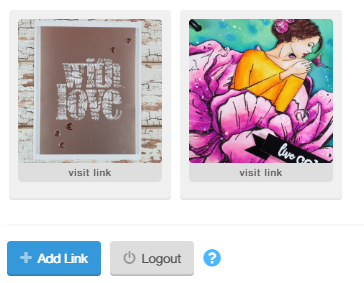
5. Write the Terms & Conditions for your party and let your guests know about the rules, the prizes or any other prerequisites for joining the party. These will be visible on your blog just before the link collection.

6. Click on the Giveaway checkbox, if you want to run a giveaway.

7. Check the "Allow entries without a link" option to allow entrants to join a link party, even if they don't have a link to submit.

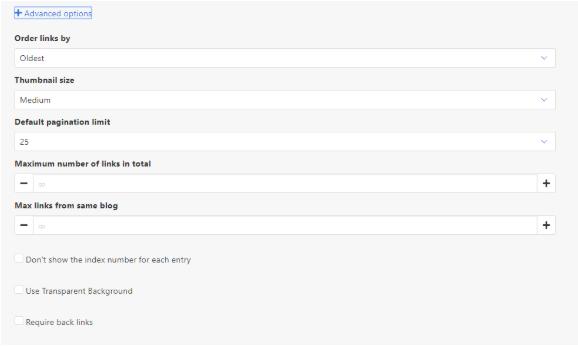
8. To customize your link party further, click to expand the +Advanced options. To learn more about the +Advanced options, click here.
9. Click on the blue button at the bottom of the page to create your party!
10. The only step left is to copy the code of the party and add it to your blog.
How to add the link party to your blog
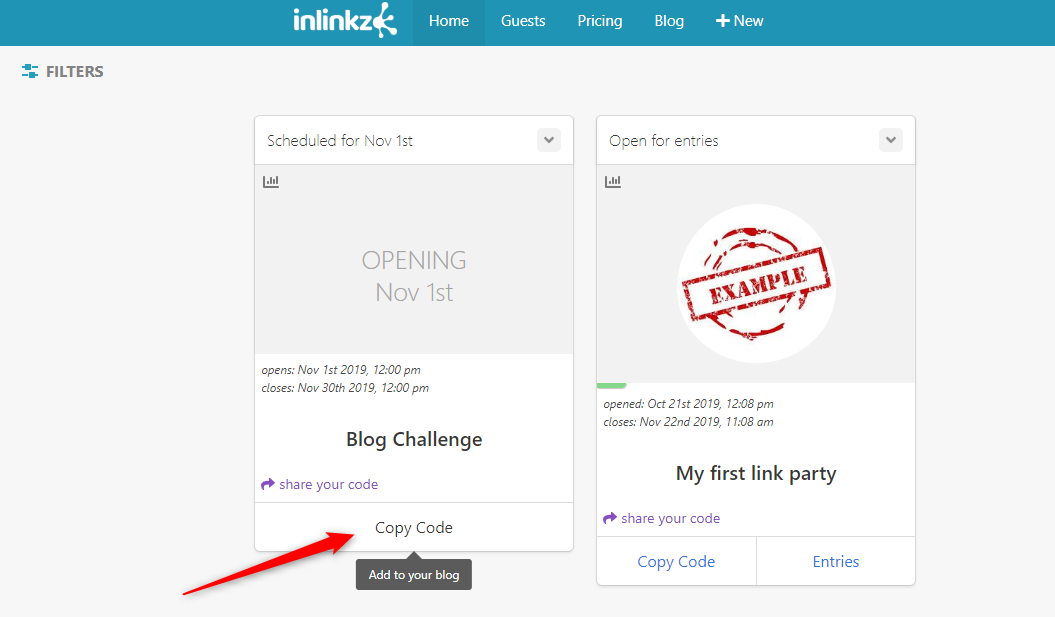
1. Once you create the link party, go back to your InLinkz home page and click on the copy code button to grab the code of the link party.
2. Copy the code
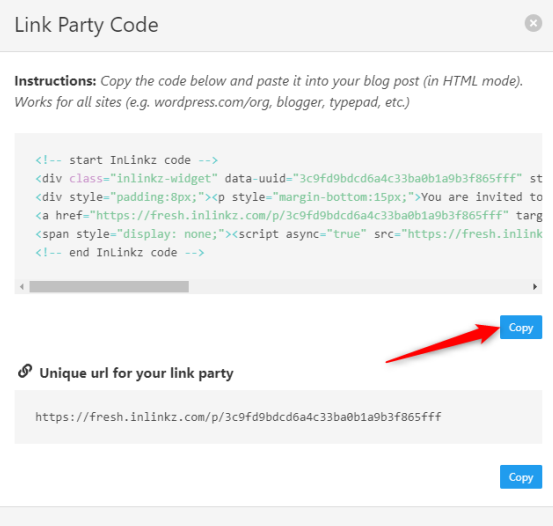
3. Paste it into your blog post while in HTML/ text mode.

As soon as the link party opens, people will be able to add their links by simply clicking on the +Add Link button.

Here is how a link party with entries looks like:

Watch a Video Tutorial
Watch our short video tutorial to learn the basics, create your first link party and embed the widget to your blog. To learn more about the InLinkz link parties, explore our blog or the help docs. If there is anything you cannot find, feel free to contact us.
