If you want other bloggers to display your link party (what is known as a “blog hop”), there is an easy way to let them grab your code for their site.
Here is how the cohosts can pick your code:
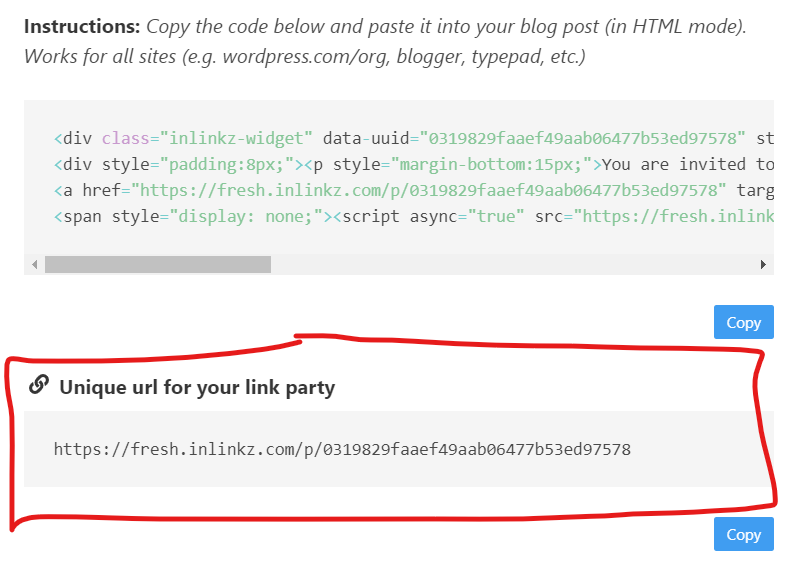
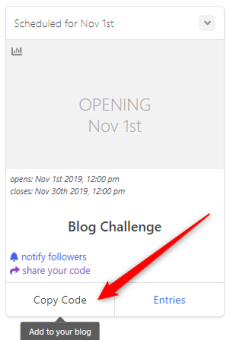
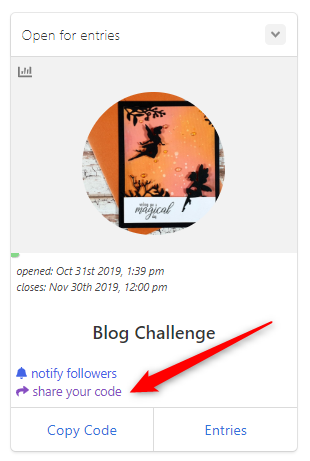
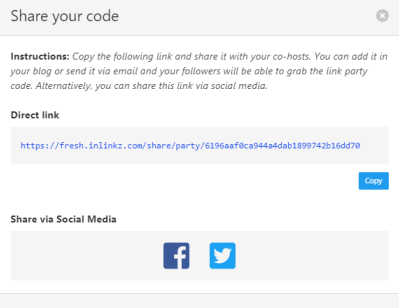
1. While on your InLinkz home page, click on the "share your code" link of a party: Share your code 2. Copy the "Direct link". You can add it to your blog or send it via email to your cohosts.
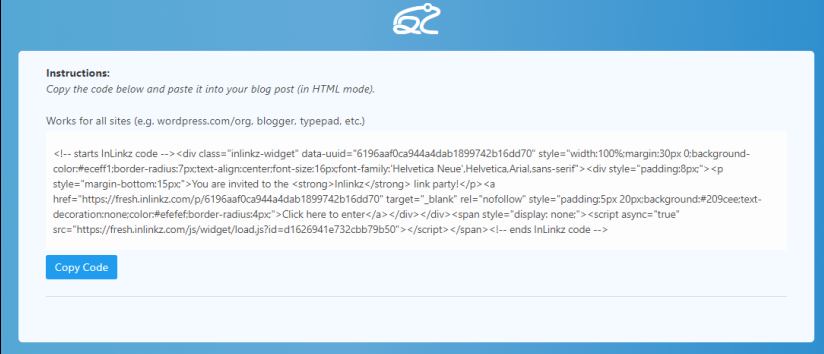
Direct link Alternatively, share your code through facebook or twitter. Share the code on Twitter 3. Once the cohosts click on the link, they will be transferred to an InLinkz page to get your code and add it to their blogs (in HTML editing mode).
Not linking back is a major pain in all linkups and even when there are such rules, entrants continuously break them.
Since linkup should be beneficial to both hosts and participants, hosts usually require a link back. A link on the participants' site to link back to the linkup site. This is usually enforced manually. If someone has many links though, it is usually impossible to visit all the linked sites to see that they indeed have a link back and, if not, go back to the moderation page and delete the link.
This is where InLinkz comes to play with the backlink option to help you build your incoming links by requiring backlinks from your entrants to your blog. Make sure the entrants can leave their link in your collection only if they follow your rules.
This backlink acts as a good referral from other blogs so it is beneficial to your PageRank.
Here is how you can require backlinks to your blog:
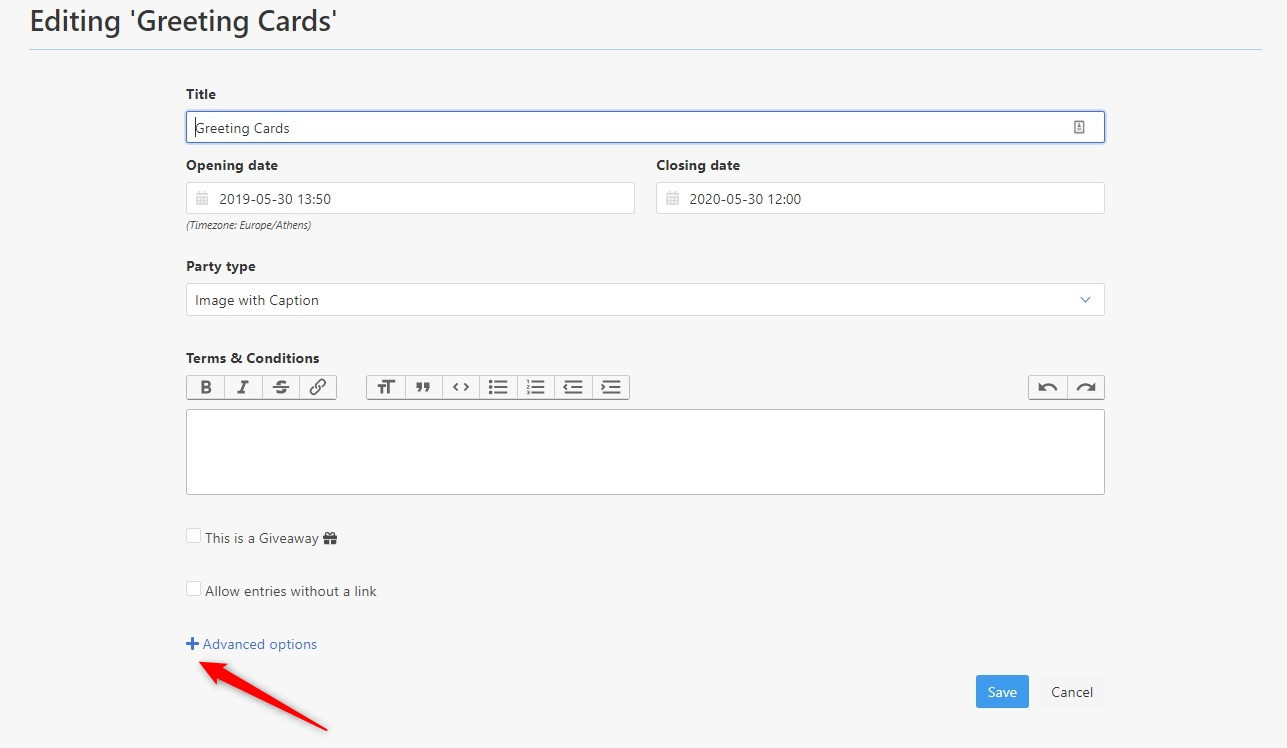
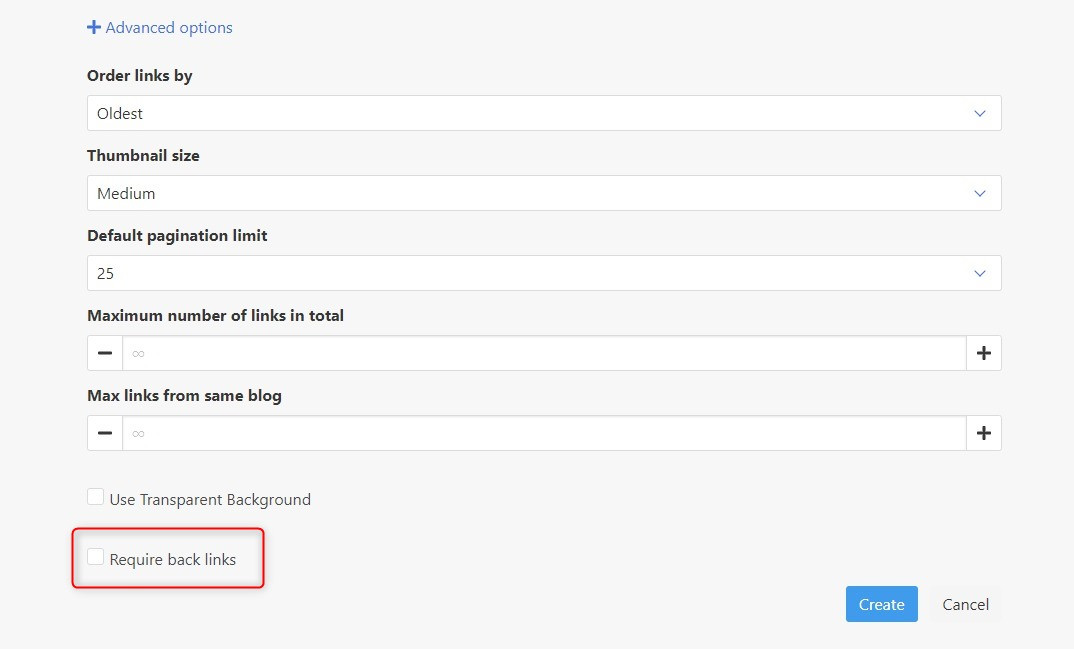
1. Click to expand the +Advanced options while creating or editing a link party.
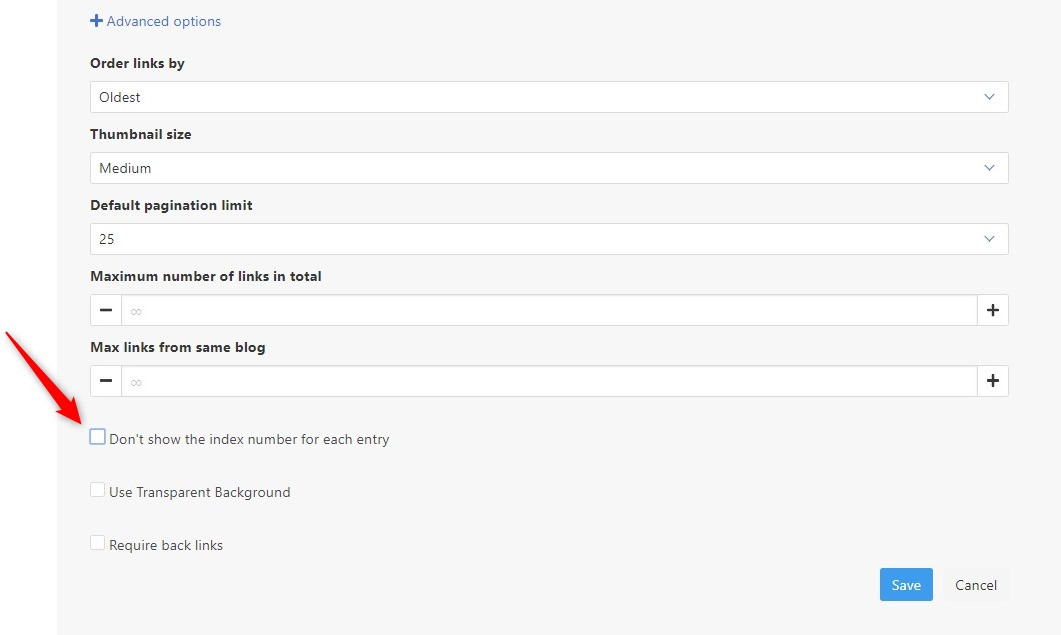
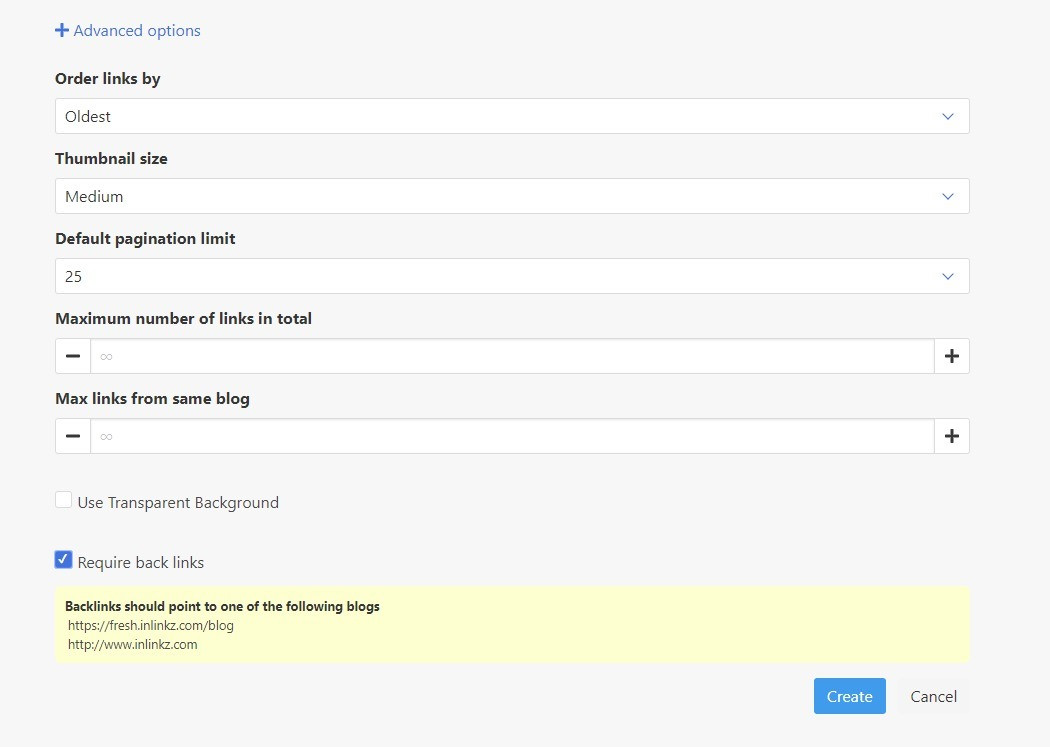
3. Once you enable it, the blog(s) you have associated with your Inlinkz account will be displayed. The reader's links should point to this URL/ these URLs.
Required Backlinks Note: To set or change the URLs you have associated with your blog, go to your Settings > My Blogs.
What happens to links that do not follow this ruleset?
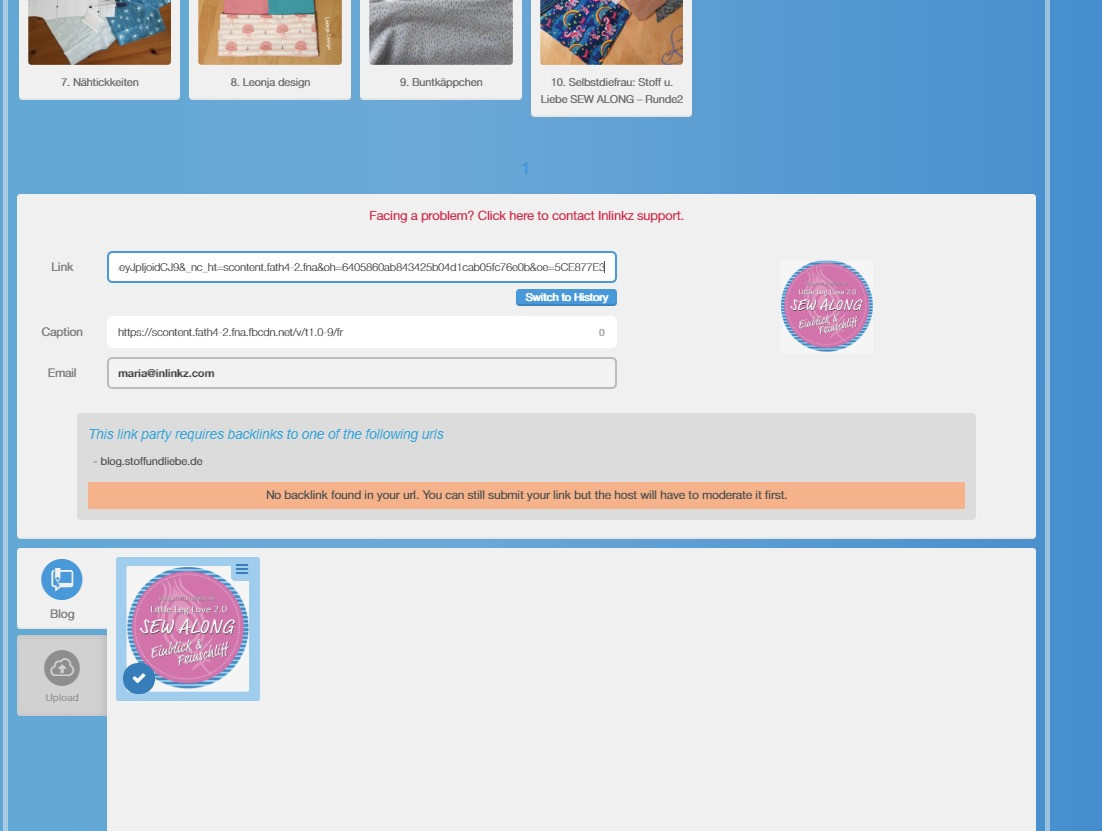
When entrants submit links that Inlinkz is unable to verify their backlinks, the system will still add them to the collection but they will not be displayed on hosts' blog until they moderate them. The hosts will receive an email about the pending for moderation links and as soon as they approve them from their dashboard > Manage links, the links will be displayed in their collection.
How to collect participants' emails for my mailing list?
To add a link to an InLinkz link party, please follow the quick steps below. (You can find a more detailed walkthrough on how to add your links in a party in our blog post here or watch the video)
Quick guide
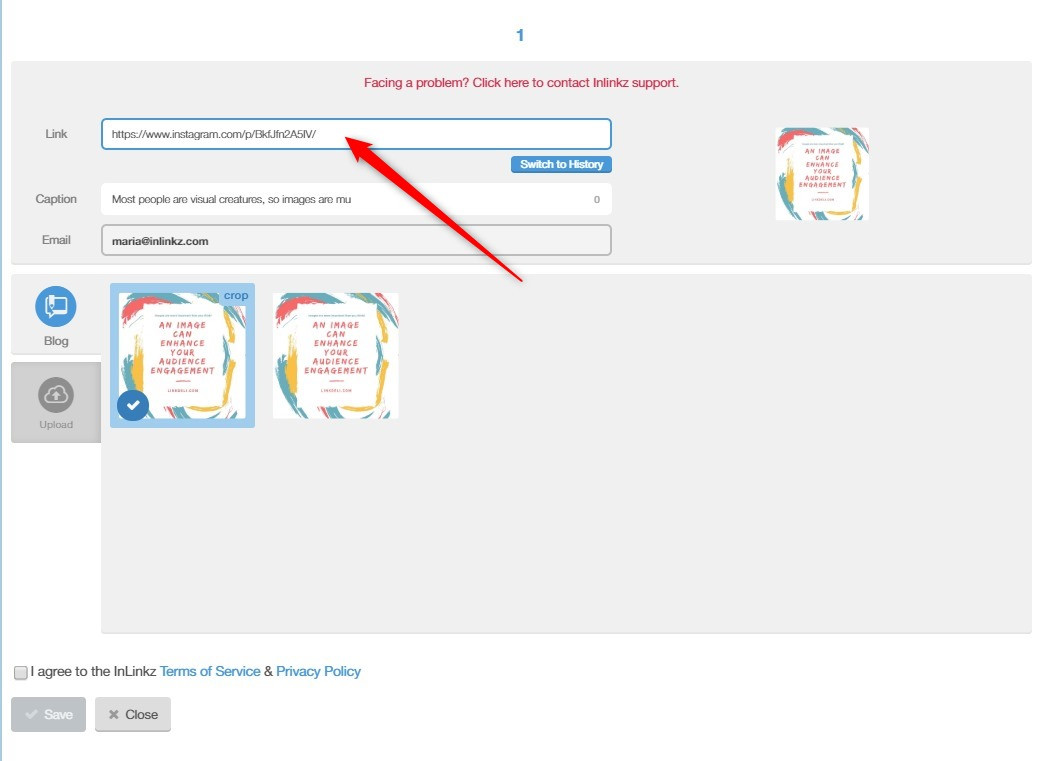
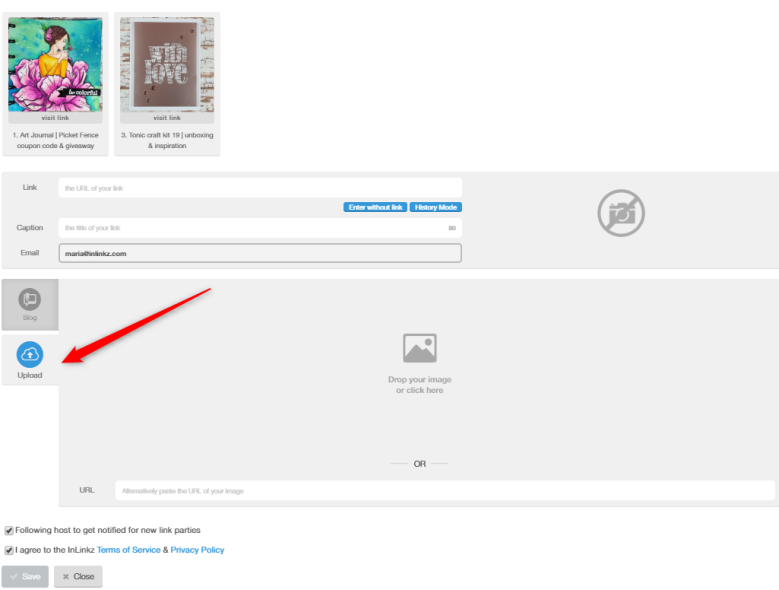
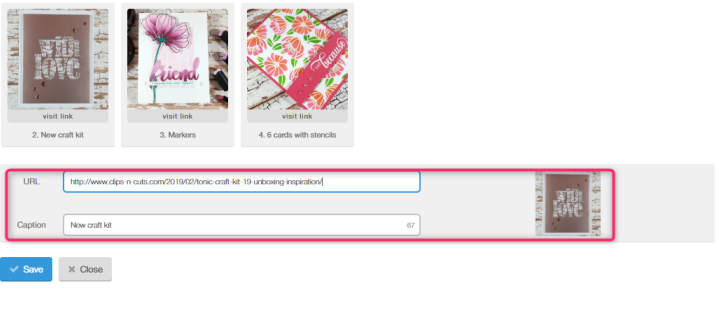
Click on the +Add Link button to expand the link options
Type the URL of your link in the URL field. Images will be loaded automatically in the area below.
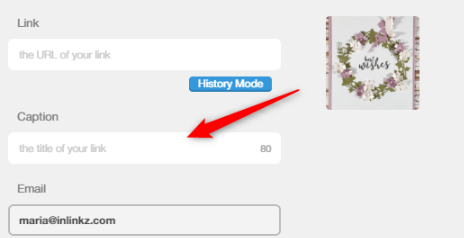
Optionally you can change the Caption text.
The Email address will be entered automatically.
Select one of the images listed in the area below or you can upload an image manually with the Upload tab.
Save your submission.
Shout out the link you added. Once you submit a link, you will be presented with a sharing screen and you can click on the respective items to pin, post or tweet about your link. Clicking on the Pinterest, Facebook or Twitter buttons a window will pop up to let you take action. On Facebook and Pinterest you can choose your text and then share or cancel. On Twitter there is a default text mentions both your blog and the target link party, which of course you can modify before you submit.
Watch the video
How to get notified of new entries and links needed moderation?
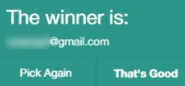
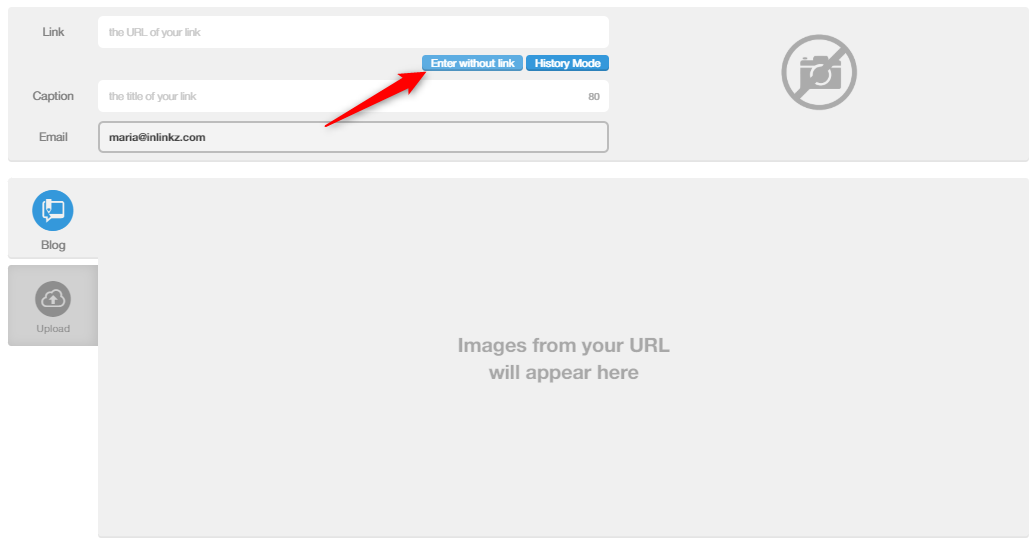
entrants without any URL/ link can also enter an event (say, a giveaway):Enter without link
They still have to enter a caption for their entry. Their email address is displayed by default so they can be reached by both the host and the automatic winner draw function in case they win in a giveaway.
2. A workaround
When a host has not enabled the above option, entrants can still submit images without links through a workaround:
Keep in mind that when you upload an image without adding a link, there is no way to know where the image originated from and the image will not point to any valid site once clicked.
How to change the blog URL I have associated with Inlinkz?
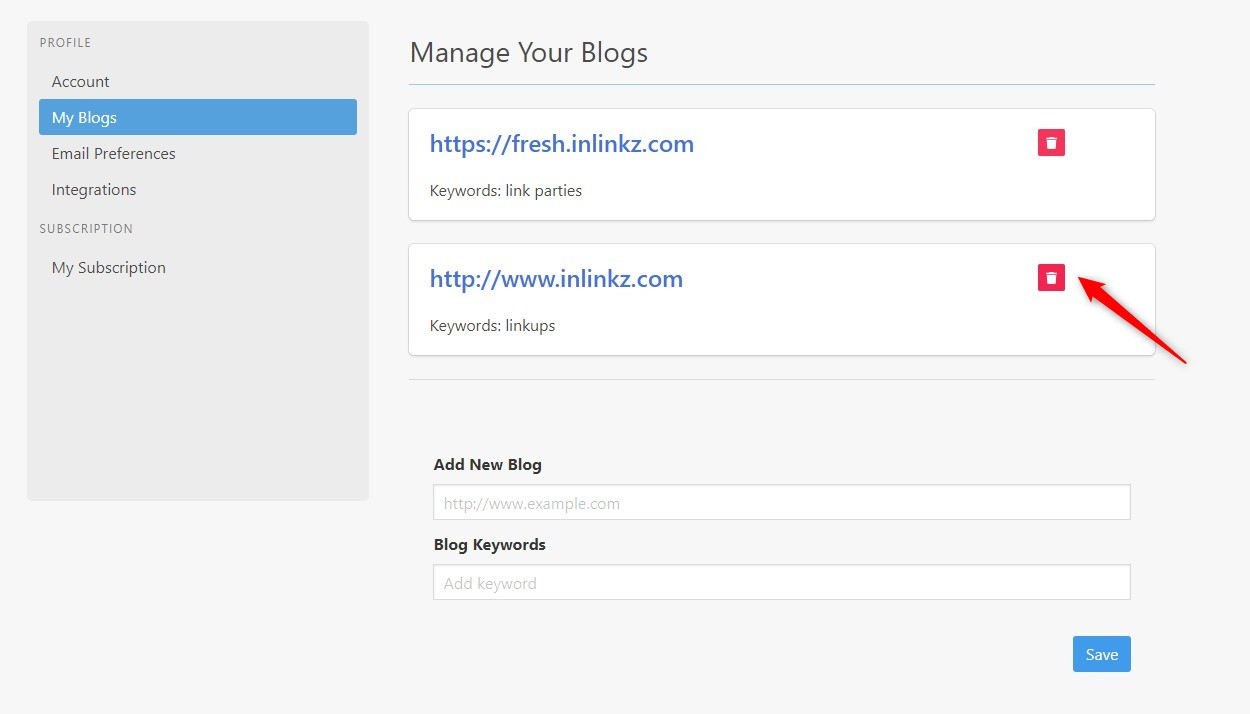
To change the blog URL you have associated with Inlinkz, go to your Settings (1)and from the Profile list on the left, select My Blogs (2).
Add a new blog URL (3) as well as a few related keywords (4). Manage your Blogs As soon as you add the new URL, the delete option will be displayed.
Click on the reb bin on the right to delete the URL you need to be removed.
Delete a Blog URL A quick note: If you have tied the URL of a specific blogpost and not the generic URL of your blog and you need to replace it, add first a "dummy" URL (for example "www.example.com") so as the system will let you delete the old blogspost URL and then add the generic blog URL.
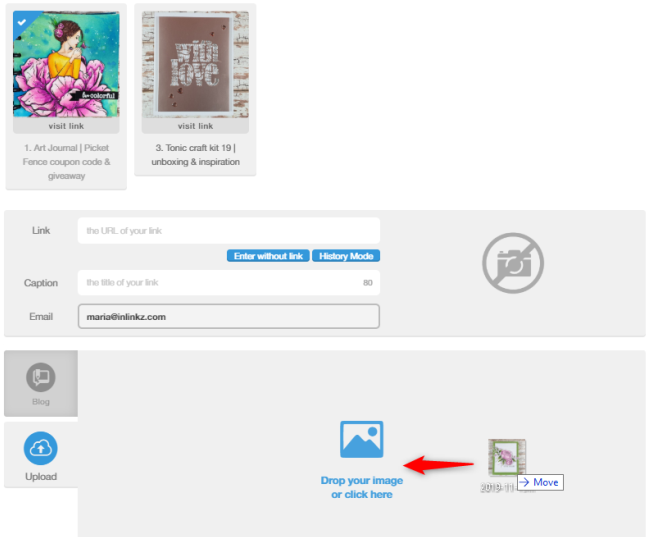
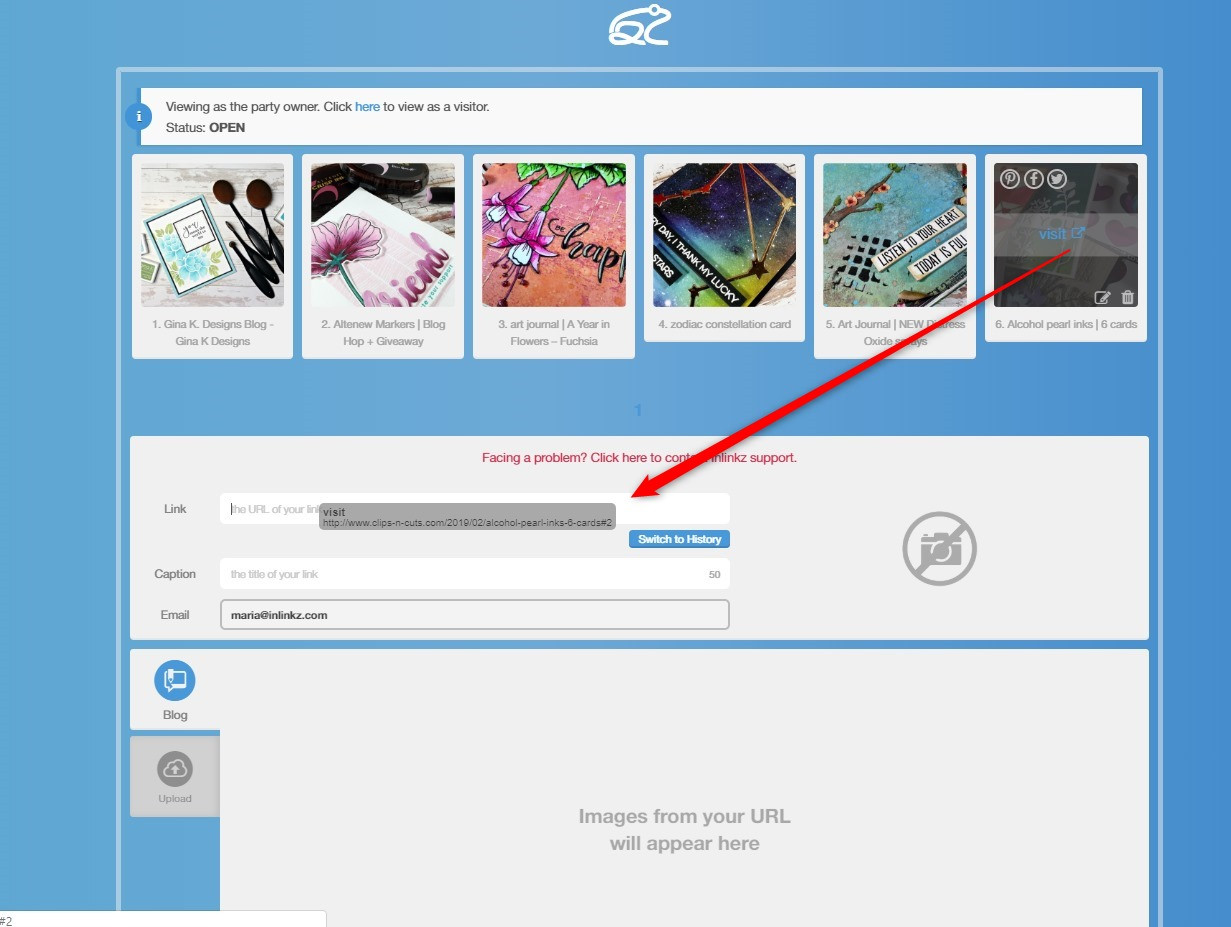
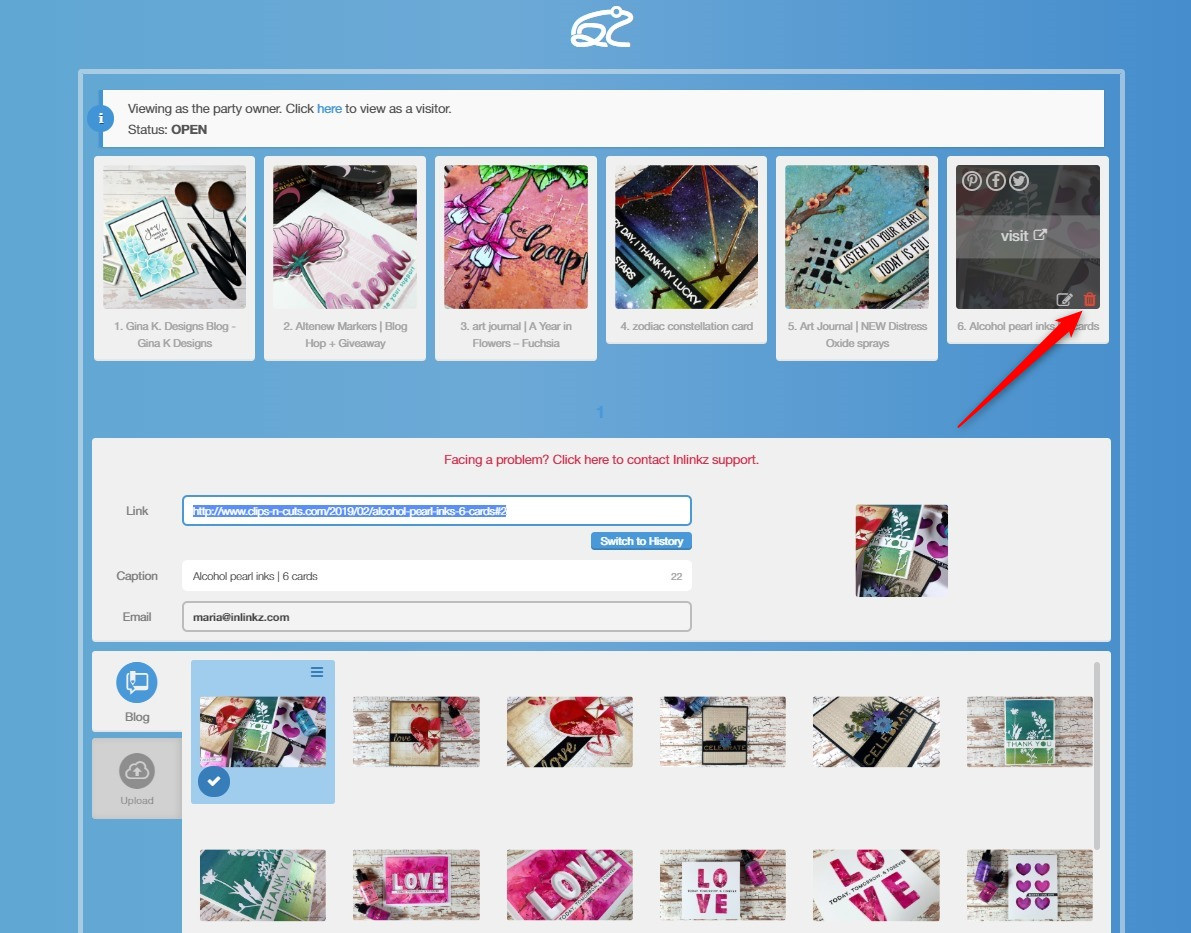
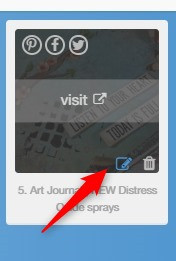
To change the image of a link, you will need to remove and add the link from scratch.
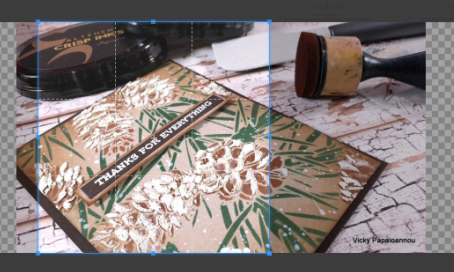
An easy way to do this, would be to go to "Add link" and just drag the link to be deleted on the URL bar as seen below, and then, simply delete the old one. Drag the link to the URL tab Delete the link
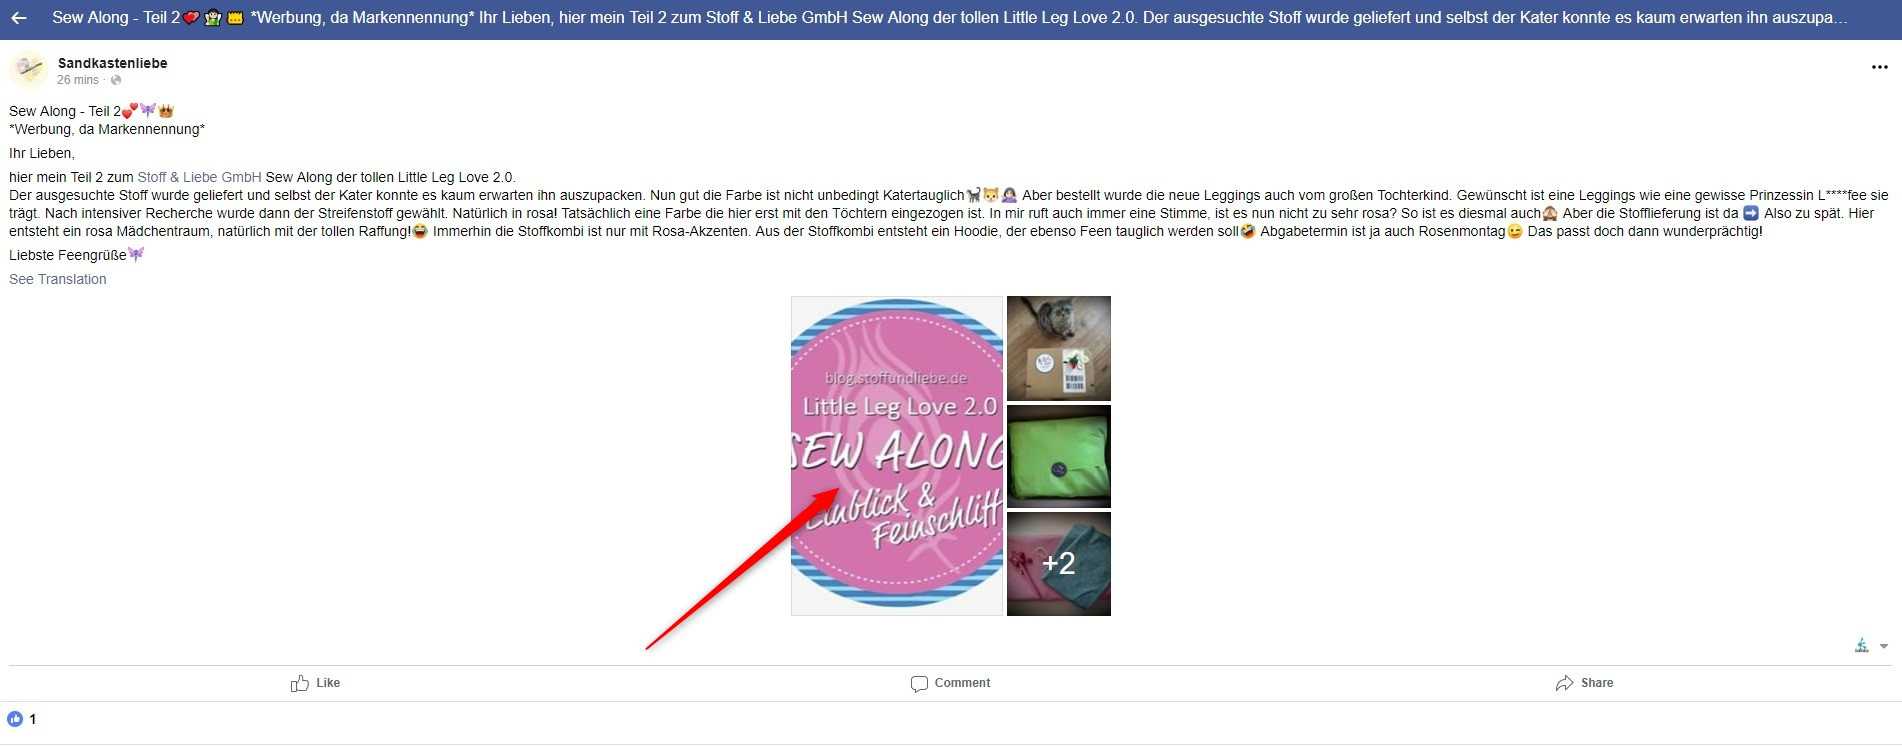
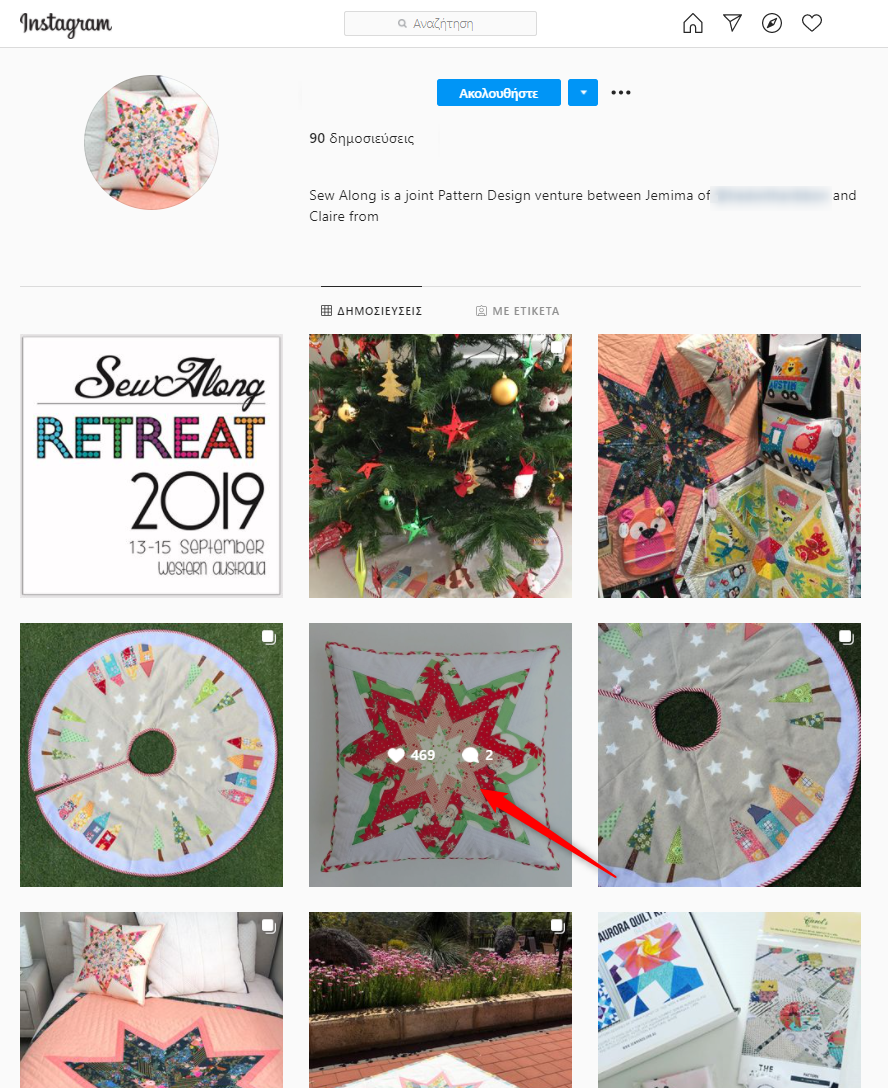
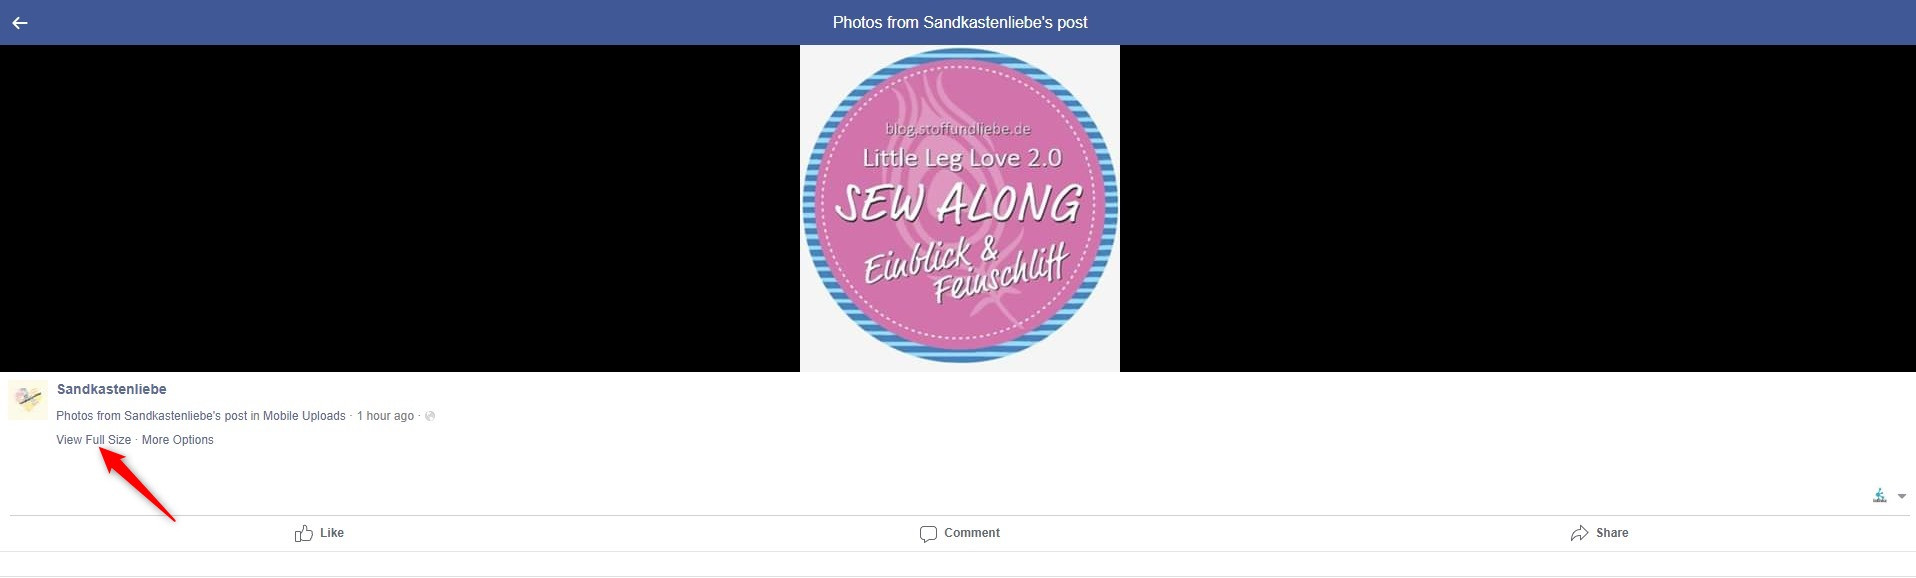
How to add a photo shared on Facebook or Instagram to a link party
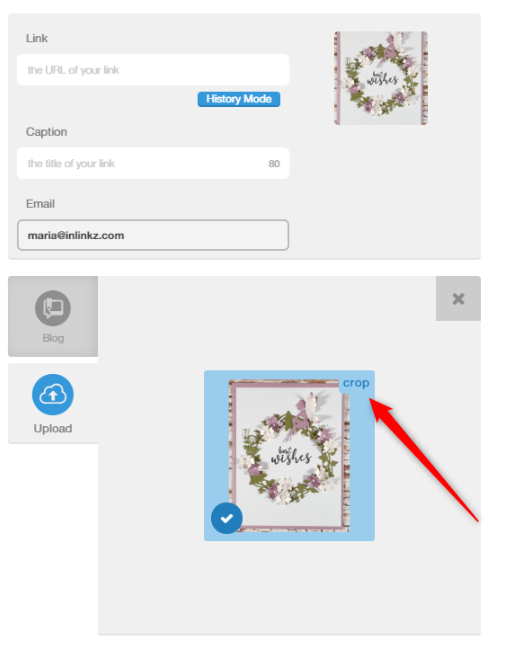
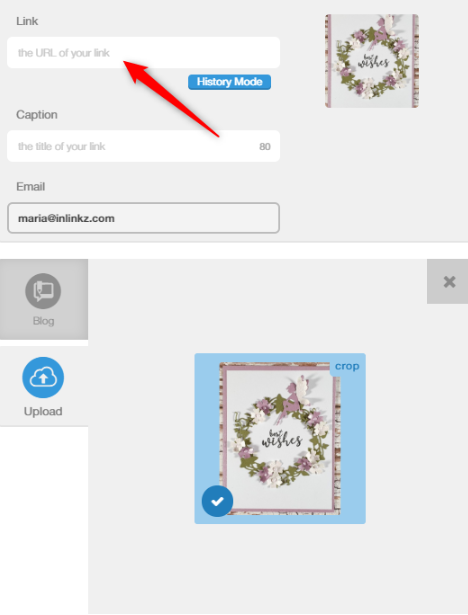
4. Go to the link party and paste the URL in the link field. The widget will bring in the attached image. Paste it on the link tab 5. Select the image, change the caption, if necessary, and save.
6. Your image link will be shown in the collection.
If you are keen on participating in a lot of link parties then you might find it difficult to keep up with all your favorite ones. And it’s extremely important to find out when a link party goes live so as to schedule your entries and be there RIGHT when the party opens.
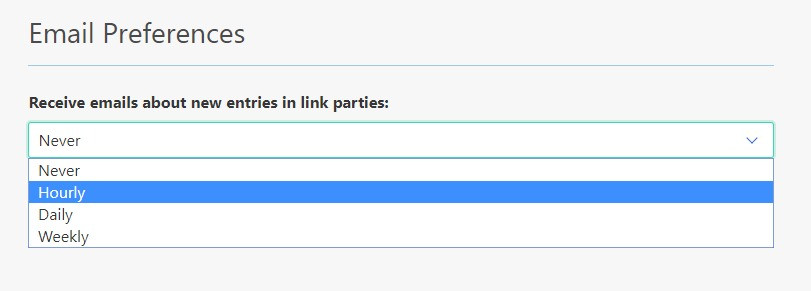
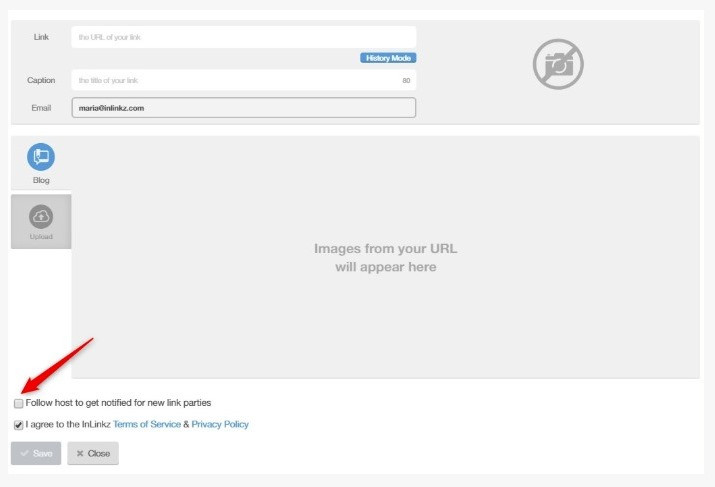
InLinkz allows entrants to follow their favorite hosts by simply putting a check on the "Follow host" box while on the linking page: Follow a host When you follow a host, you can get email notifications each time a new party is created by this host or is ready to accept entries.
Note: Keep in mind that in order for this feature to work the hosts should activate this option from their backend as well.
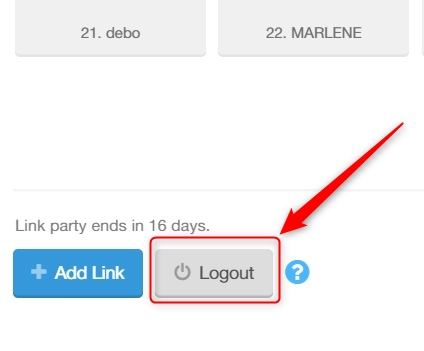
The email address that is displayed when you add a link to a party is the email you used to sign in to InLinkz.
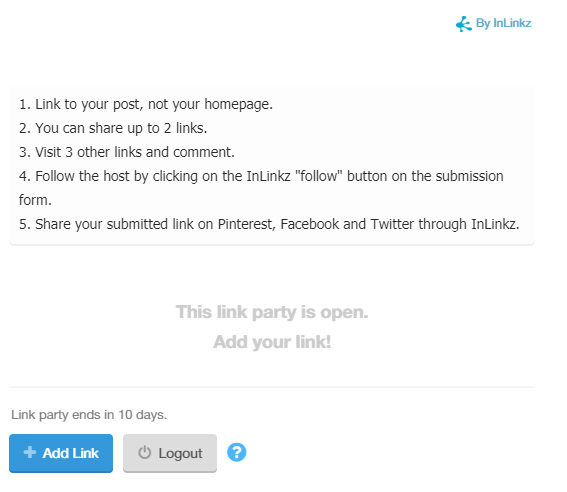
If you want to change it, you need to log out of your currently logged in account and sign in to your other email. You can find a logout button just right beside the "add link" button
If you are logging in with Google, it automatically fills the same email you are logged in GMail with. To change that, you need to logout from GMail and login back to GMail with your desired email
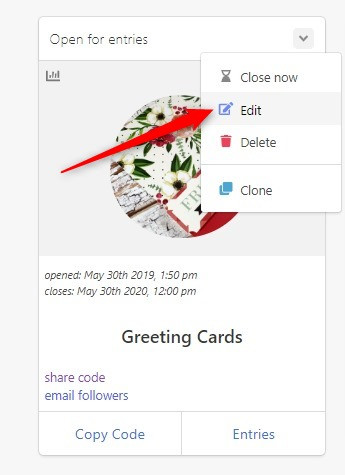
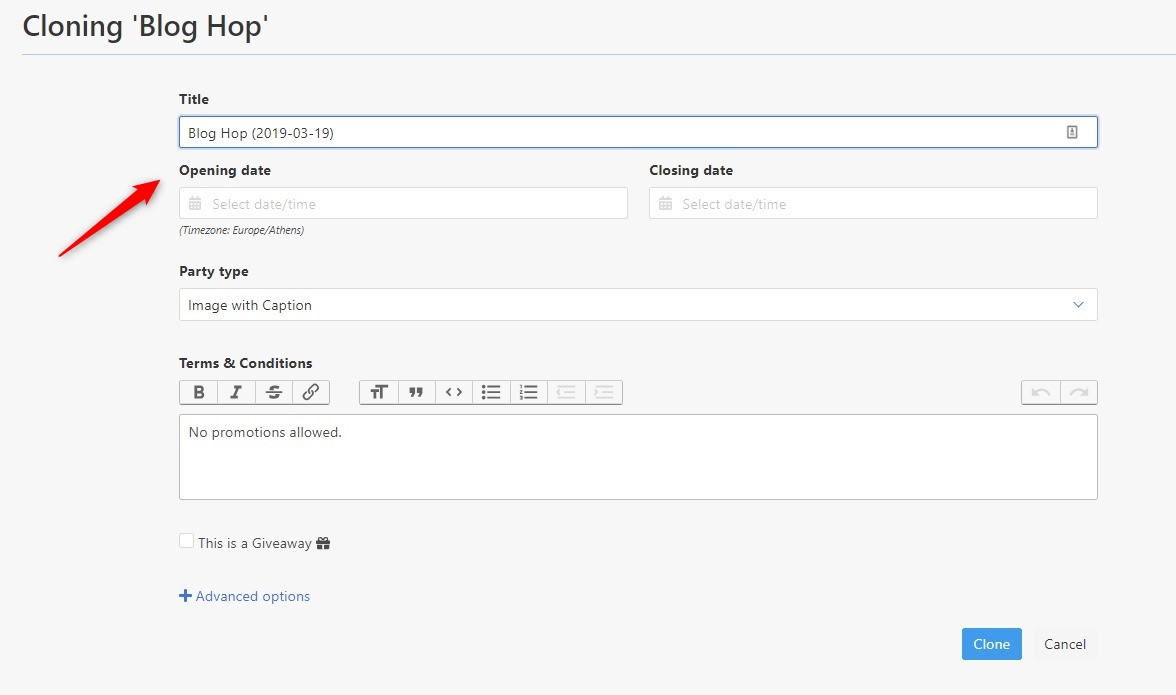
3. The edit page will open. All linkup's data will be pre- filled, except for the opening and closing date. Adjust the duration of the cloned party and enter a new title, if necessary.
I DON'T want the entries to be shown in my blog post. I want a button only!
While this seems strange, you can do it easily!
There are two ways:
1. Removing the <SCRIPT> part of your code
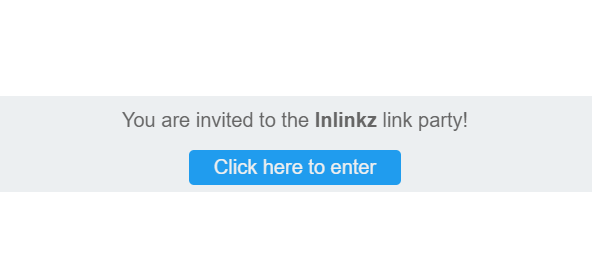
Just copy the code and then remove anything in the <Script> parts, including the tags themselves: Removing the script part. This will display the default message which looks like this:
On the code dialog, there are two options for picking a code. The bottom one, is a direct link which points to the linkup. Just use this link on whatever you want, for example an image, to make it a link to a party:
It seems that I cannot open the links and the hosting page just reloads
Please make sure your browser does not block any popup windows. InLinkz works by opening another window to view the link so that might be the case. To enable the popups for InLinkz, check here.
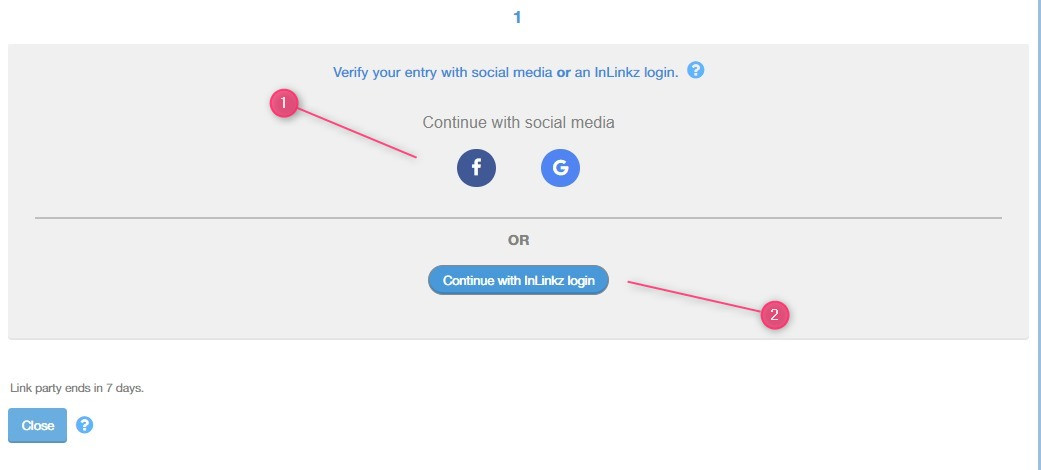
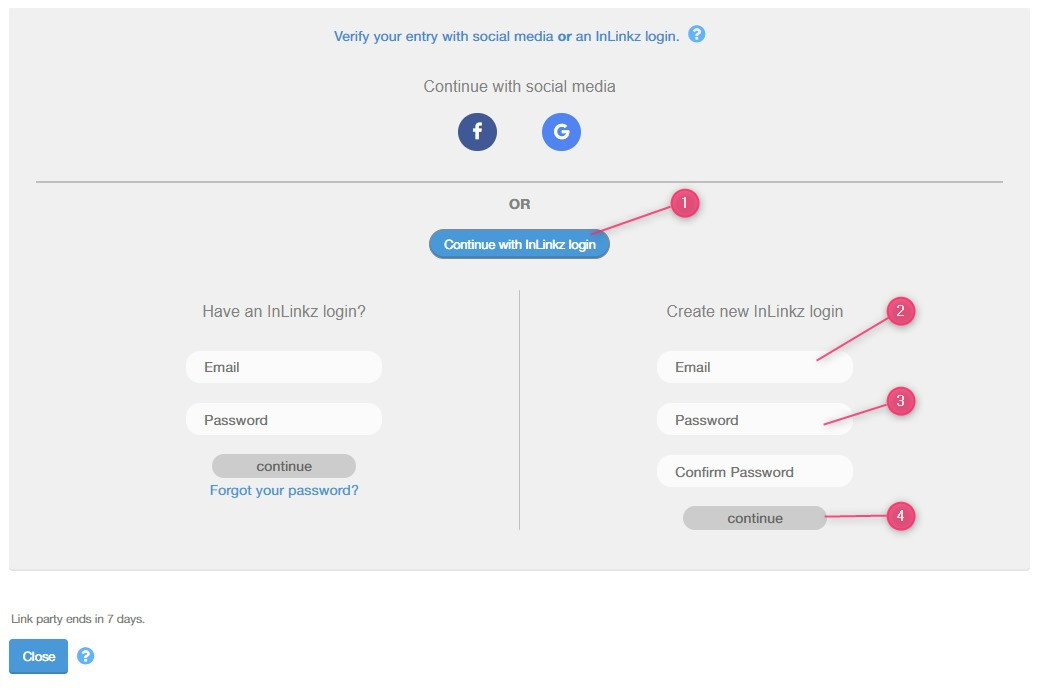
You can either use your facebook or googlelogin with just one click (1) or you can continue with an InLinkz login (2). Verify your entry
To create an InLinkz login, click to continue with InLinkz (1) and then enter your email (2) and a password of your preference (3) in the right column. Click to continue (4). Continue with InLinkz login A verification email will be sent to your inbox. Follow the instructions to verify your login.
This is a process you need to do only once. If you use the same browser, the system will remember you.
In case login is required, simply enter your credentials in the left column and continue adding your link to the link party.
Important note Drop the index numbers when you pin links in order to avoid having mixed index numbers in the party. See here how to enable that option.
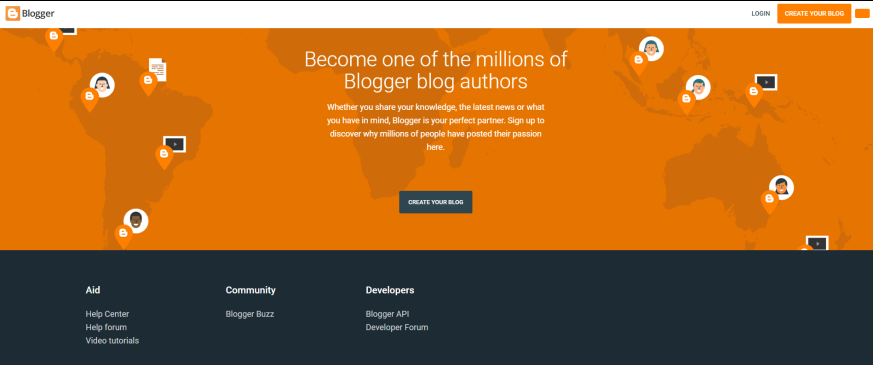
This tutorial takes you through the process of creating a link party with images in the administration interface of InLinkz and putting it in your Blogger blog.
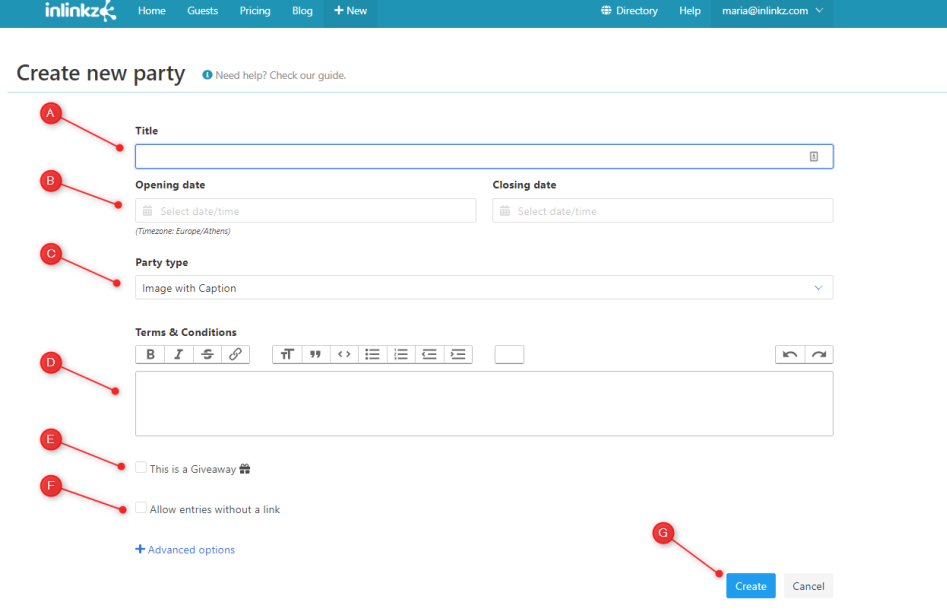
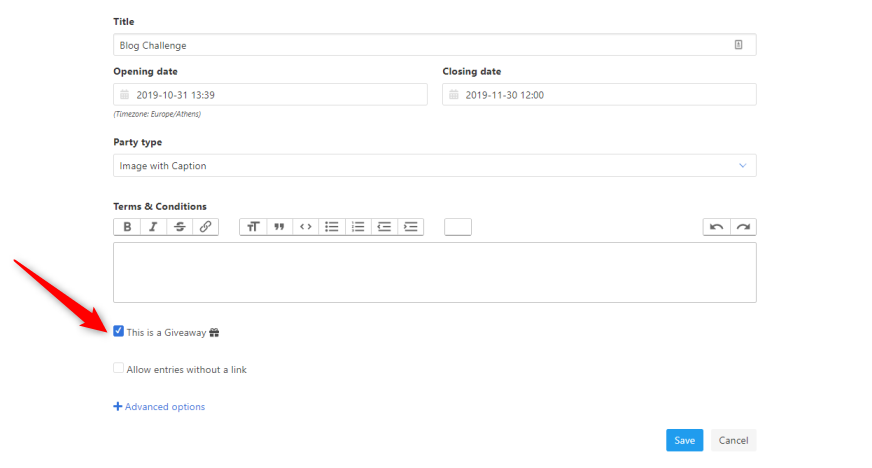
a. The Title will be displayed on your dashboard as well as on InLinkz Directory. b. The Opening and the Closing date determine the duration of the link party. No links can be submitted after a party closes. c. Choose whether your collection will be a thumbnail collection with captions or only images (Party type). d. The Terms & Conditions will show on your blog just before the entries.
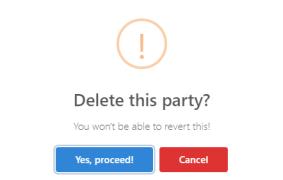
Remember, there is no chance to recover a link, once it is deleted. It is a permanent change.
The delete option is visible only to the entrant that submitted the link and only from the browser they have entered the link. Cookies should be enabled as well.
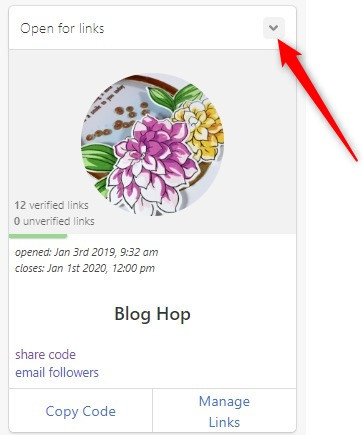
Hosts can also delete the links that have submitted to their own parties:
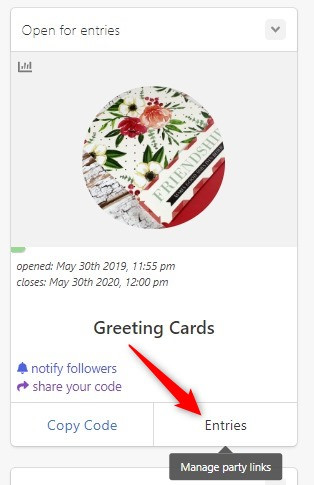
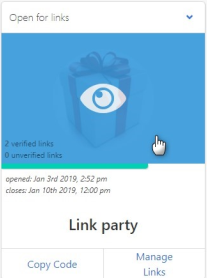
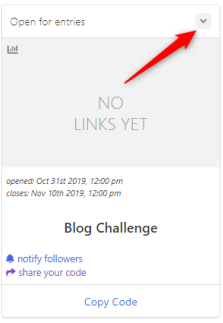
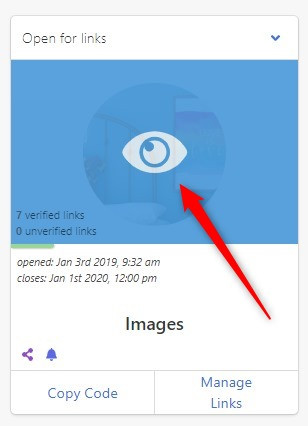
1. While on your Inlinkz dashboard, click to preview a link party. Preview the party
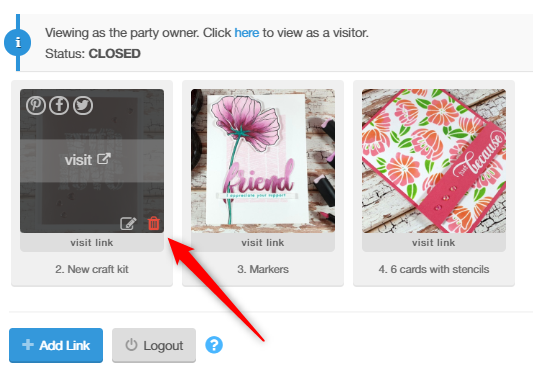
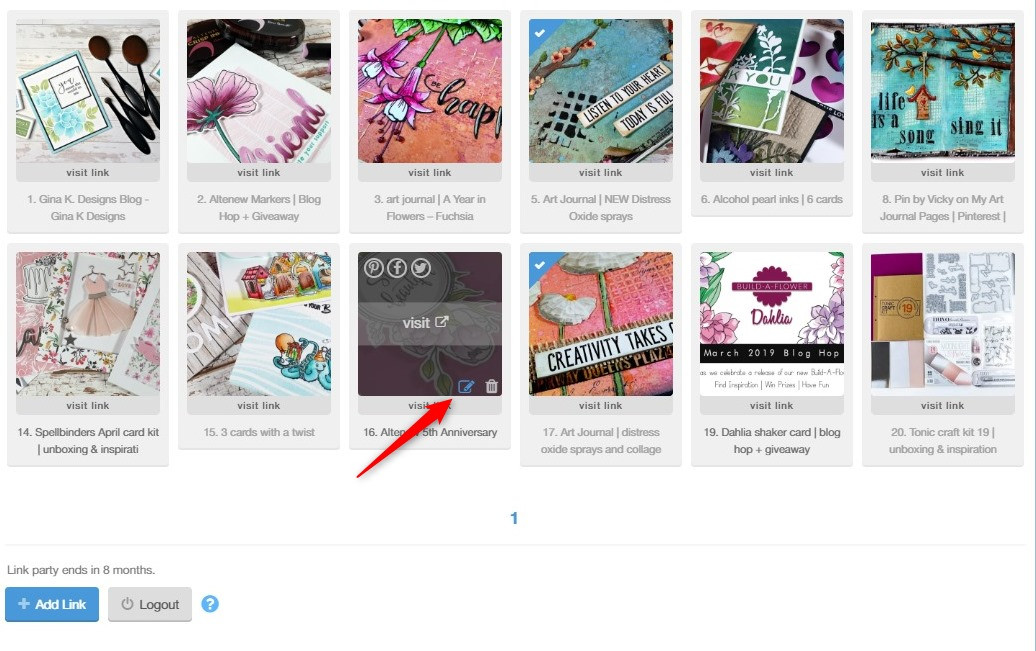
2. Hover over the link you want to remove and click to delete it.
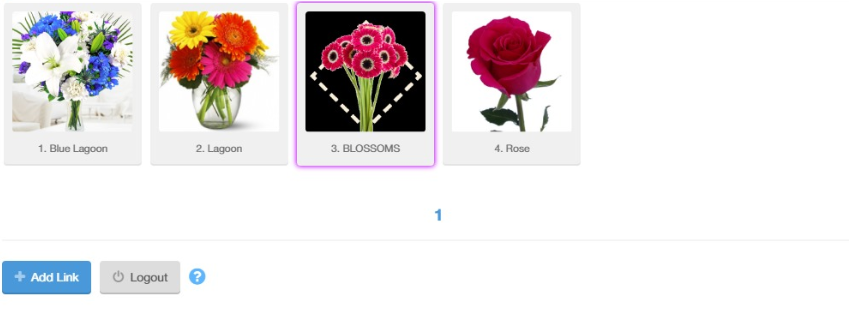
3. Select to pick a winner by clicking on the "pick a winner" link.
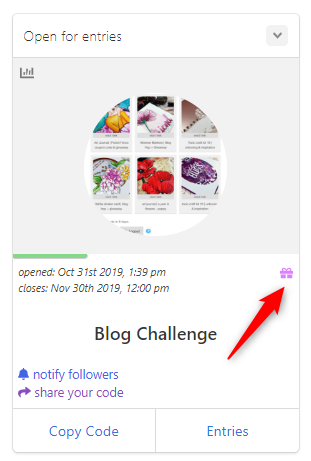
Pick a winner The system will select a winner randomly between the verified entrants. The winner's submission will be marked in purple to make the winner stand out.
Note: Keep in mind that while picking a winner, the system will let you manipulate the ranking if you wish to. Again, if you want to be completely fair about the randomness of the winner drawn, you should refrain from tampering with this. You can keep asking for the winner until you land on the ones you want. Nobody guarantees that the blog owner will not be biased. Pick again a winner
Want to let people join your giveaway without adding links for their images? Check out how here.
In order to join an InLinkz link party or a blog challenge, it is required from entrants to submit a link, which usually is the URL of their blog post or their social account. Now, hosts can allow their entrants to join a party (or a giveaway), even if they don't have a link to submit.
How to set up a party open to all
The enter of a link is the default option for every submitted link as you need a URL that points to the picture when clicked. Otherwise, there is no way to know where the image originated.
However, in some cases, entrants want to participate in a party or a challenge by submitting an image without using a URL.
For these cases, InLinkz has released the option to allow entrants to submit an image without adding a link.
To enable this option:
1. Simply click to edit a link party (or create a new one).
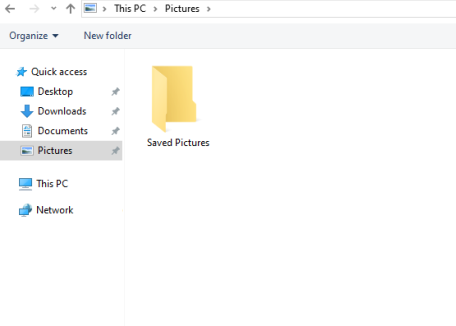
With the upload function, adding images to a link party from your computer is easy as pie! Entrants have just to save images on their computer/ iPad/ phone and upload them!
The image upload option has been created for those cases where it is not possible for InLinkz to grab the pictures from the original site. Here is how it works:
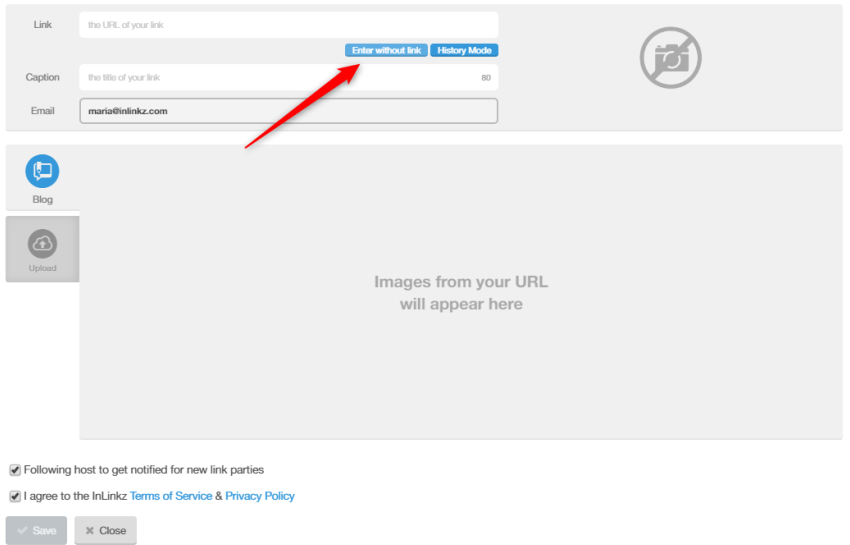
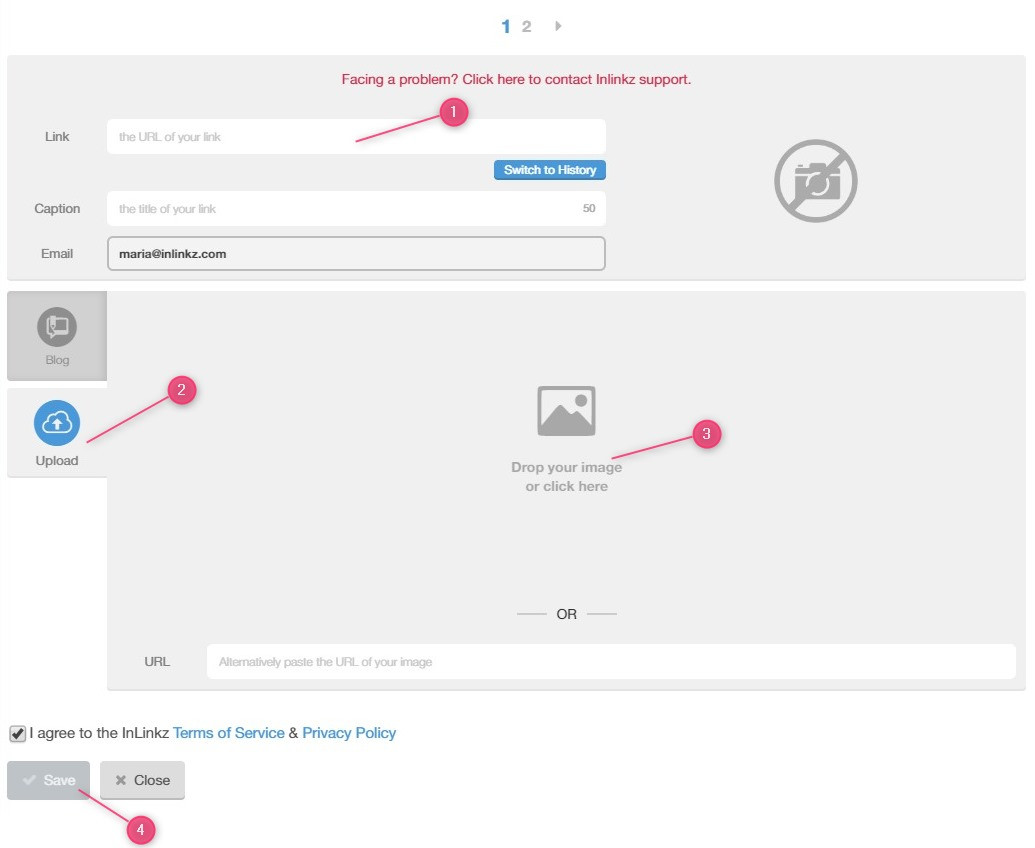
1. As usual, click on “Add your link” to proceed with linking up.
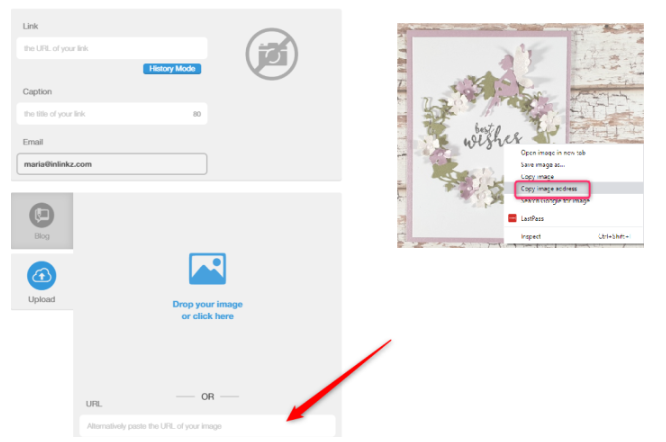
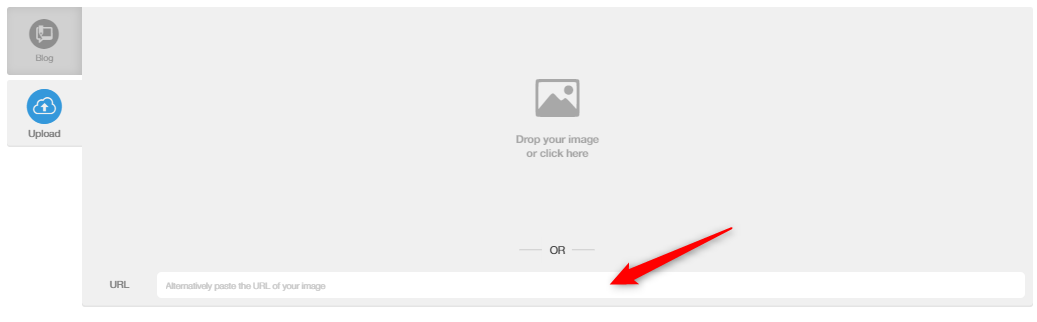
or click inside the upload dialogue to search for an image in your files. Choose an image from your computer Alternatively, you can copy the URL of an image and paste it in the relevant field:
5. If the host hasn't enabled the option to submit images without links, then you need to add a link to the link field in order to proceed. If you don't have a link for your image, you can add a dummy URL on the link field (eg. http://example.com):
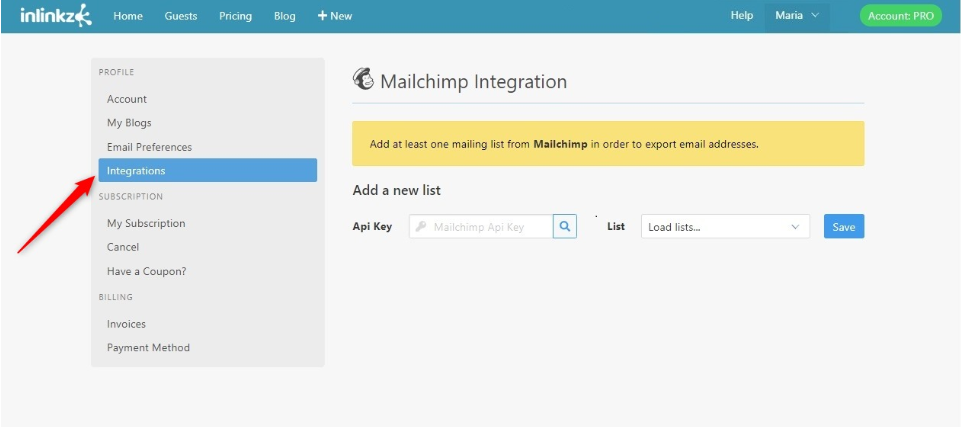
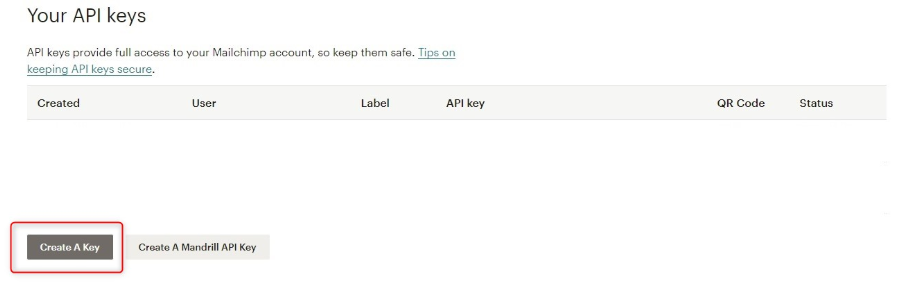
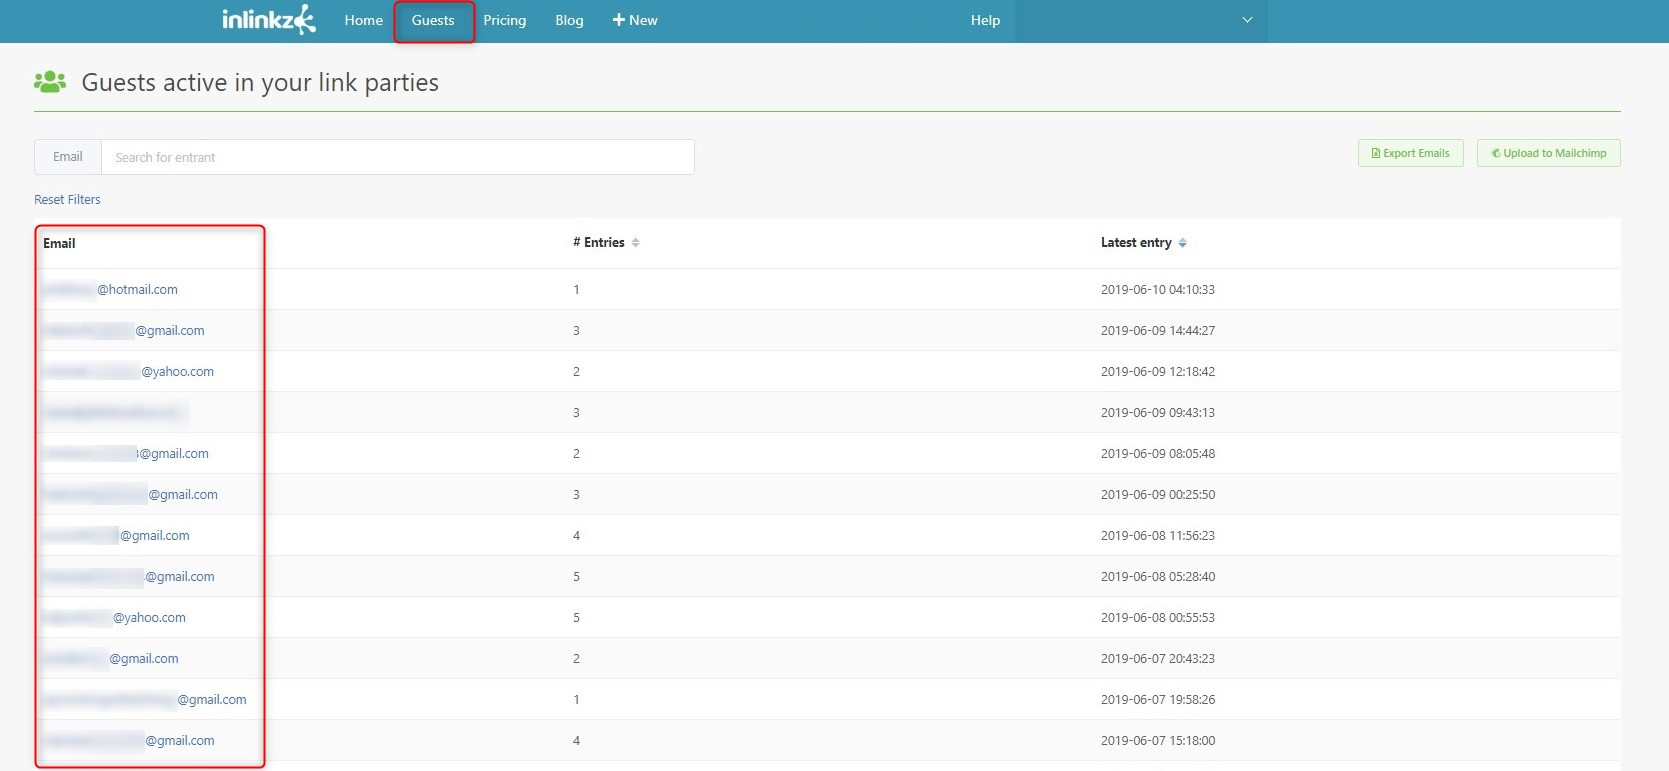
7. Copy the API key. 8. Go back to Inlinkz Integration page. Paste the API key on the respective box and click on search. 9. Select the MailChimp list you want your guests' emails to be added and save.
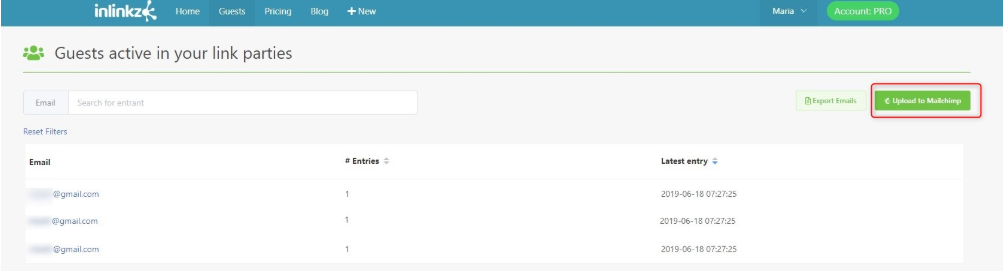
Every time new emails are added simply upload the new list to Mailchimp.
1. Go to the InLinkz Guest page Upload emails to Mailchimp 2. Click on the Upload to MailChimp button. 3. Select a list from the dropdown menu, if you have created more than one 4. Click to submit your selection.
To learn more about the MailChimp Integration, click here.
Please note that you need to have a way for users to unsubscribe from the mail list you may create and have their permission to send them emails or else your mail may be considered spam and your address may get blacklisted/blocked. InLinkz assumes no responsibility if anything happens to you or your email !!!
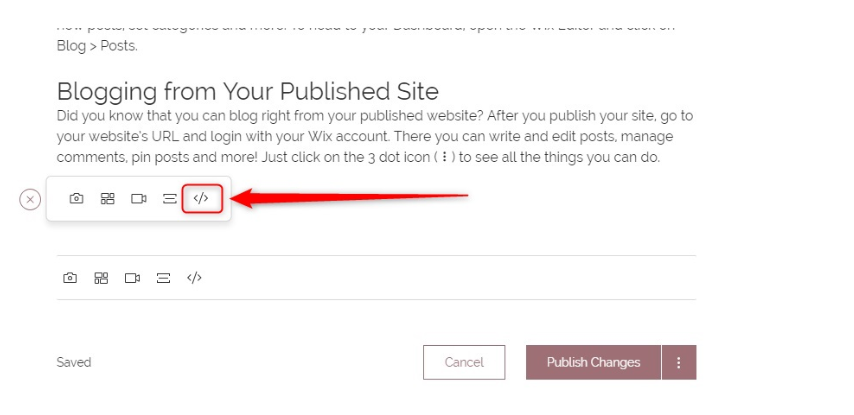
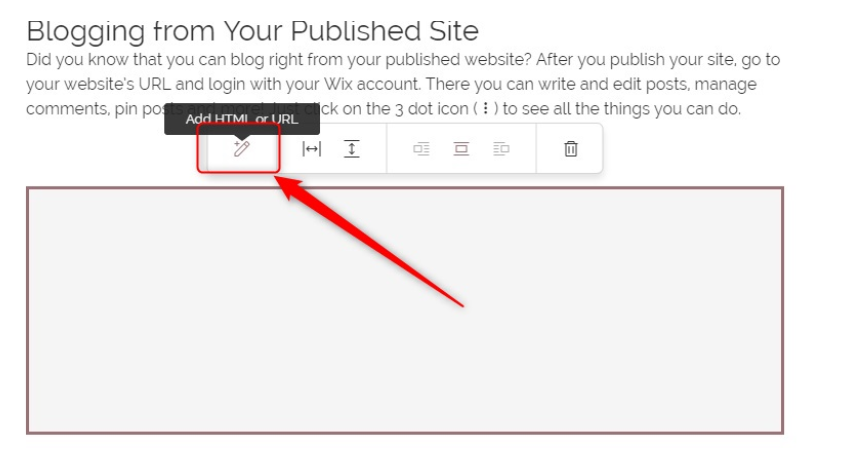
How to host an InLinkz link party on a WIX platform
Wix has a rather strange blogging system that consists of "blocks". You cannot add any HTML code directly but rather use the appropriate block to do so.
And paste it on the HTML box. Clicking update will produce a little squished result Don't worry! Just use the spacer icons and adjust the height so that the scrollbar on the right disappears. If the number is more than the slider allows, just enter it by hand!


.png?content-disposition=attachment)